
Basement waterproofing paint, such as SEMCO Liquid Membrane as a basement waterproof paint, is a cost-efficient way to protect your home from water damage. It is a simple and easy-to-apply product that can help you avoid costly repairs and maintenance. With the right preparation and application, you can make sure that your basement is properly sealed and waterproofed.
Before you begin, it’s important to understand the basics of basement waterproofing paint, so that you can get the most out of it. This guide will provide you with the information you need to successfully use basement waterproofing paint to protect your home and keep it safe from water damage.
What is Basement Waterproofing Paint?
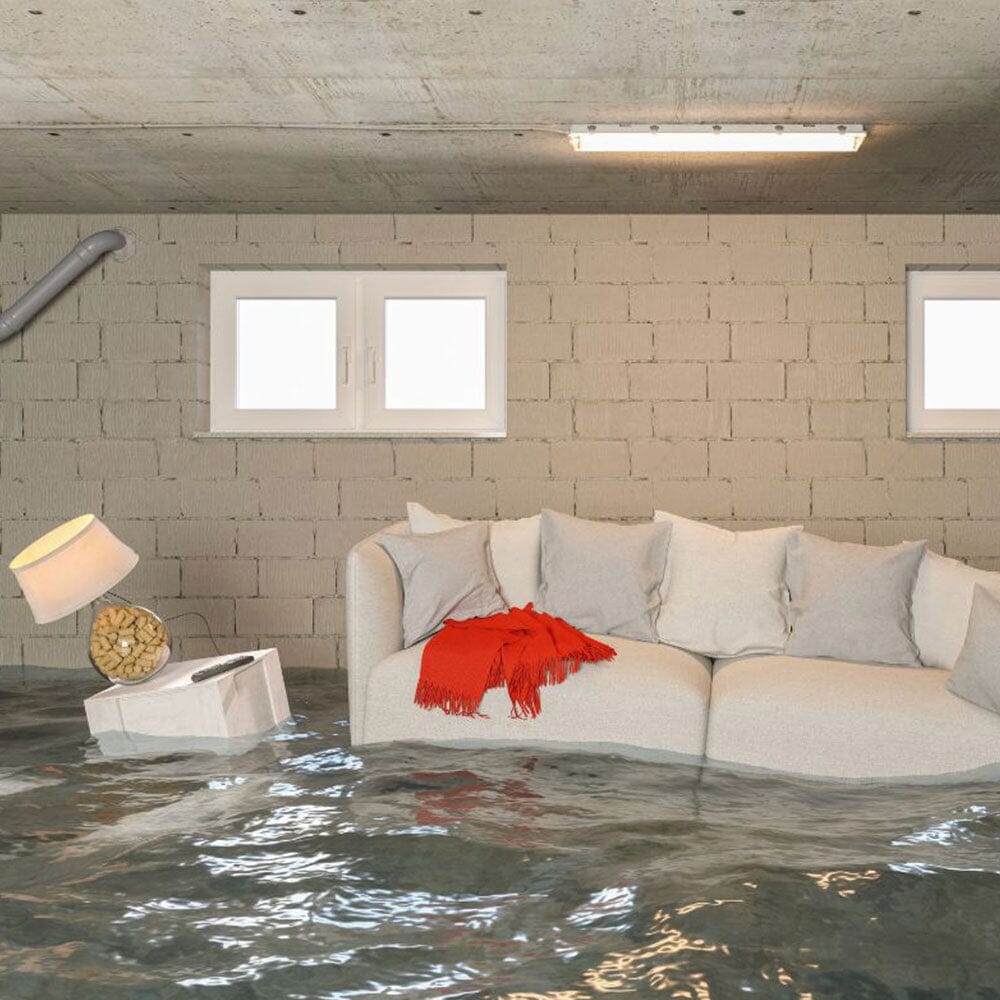
Basement waterproofing paint is a specialized coat of paint that protects your basement walls from water damage. Unlike regular paint, which is designed to be decorative and provide a surface seal, waterproofing paint contains special ingredients that repel water.
A properly applied coat of basement waterproofing paint can protect your walls from moisture that can cause mold and mildew. It can also help reduce the amount of time you have to wait before using your basement.
The key to a successful application is to choose the right paint for your needs and apply it correctly. The SEMCO Liquid Membrane / Basement Waterproof Paint, gives you a low VOC, water-based option that has no solvents, and is a cost-effective solution for all your basement waterproofing needs.
Benefits of Using Basement Waterproofing Paint
There are many benefits of using basement waterproofing paint to protect your basement from water damage.
- Waterproofed walls are much more resilient against water damage, which can result in less expensive repairs and maintenance.
- The best basement waterproofing paint will prevent water from soaking into the surface of your walls. This can help you avoid costly repairs and maintenance, like replacing soggy drywall and repairing buckling flooring.
- Waterproofed walls will look better and last longer.
- Regular water damage can cause your walls to deteriorate more quickly. This can result in higher repair costs and may even require you to replace the walls entirely.
- Proactive basement waterproofing is the best way to prevent this and keep your home looking beautiful.
How to Prepare for Applying Basement Waterproofing Paint
Before you apply basement waterproofing paint, there are several steps you should take to prepare the surface properly.
- The first step in the process is to clean and tape your walls. You will want to remove any debris and clean the surface so that the waterproofing paint can adhere properly. Ensure that the surface is free from any magnesium deposits or efflorescence. We also offer a wide range of detergents to clean off any dirt.
- Once your walls are clean, use a putty knife to create a smooth surface by taping off the edges. This will give you a nice, clean edge when you apply the paint.
- Next, you’ll want to fill in any cracks and holes in the wall with a filler. This will create a smooth and even surface for the waterproofing paint to adhere to.
- When you’re ready to apply the paint, be sure to choose a high-quality product that will last for years to come.
Applying Basement Waterproofing Paint
There are a few steps to follow when applying basement waterproofing paint:
- First, you’ll want to cover the floor and equip yourself with the appropriate safety gear. You don’t want to get paint on your hands, so you’ll want to use gloves and a drop cloth, too.
- Next, load your paint roller with the appropriate amount of paint.
- You’ll want to apply a thin coat of paint to ensure a proper seal. You don’t want to apply too much paint, as this can create a sticky and difficult-to-clean surface and this would also cause delays in drying and re-coating times.
- Once you’re ready to apply the paint, roll it along the wall in smooth, even strokes. Make sure to apply the paint to all areas, including corners and edges.
- Apply 2-3 coats to any vertical surface for optimal results.