
It may be tedious and not seem like you’re doing much, but learning how to waterproof a shower before tiling could save a lot of issues down the line.
The Building Materials
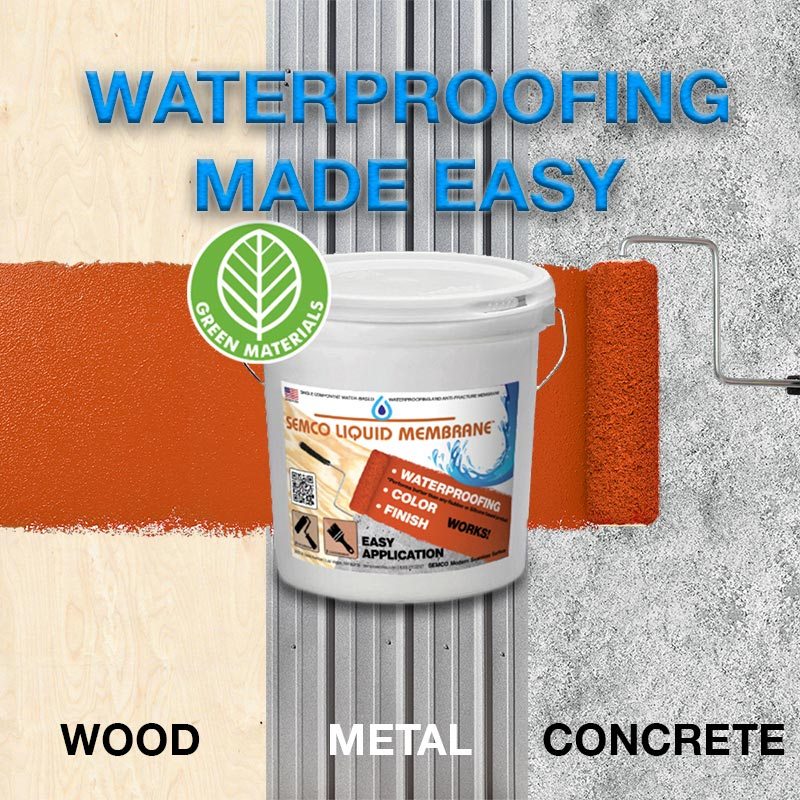
The typical shower areas in an American home is built with cement hardie boards or OSB plywood boards. Both materials are often used as wall panels since they are cost effective however both are known to be not moisture resistance, especially if exposed to moisture over a long period of time.

There is a ton of research available on how to waterproof a shower before tiling but it is always a topic which makes everyone nervous but in fact it is a fairly easy task to do.
Why Waterproofing a Shower is Important
When contemplating a renovation of your bathroom that includes installing a shower cubicle or above-bath shower, it is important to waterproof this ‘wet’ area before tiling.
A shower that is not waterproofed runs the risk of creating water damage on the wall of the room next door. In upstairs bathrooms, the water can seep into the floor, damaging the ceiling of the room below. Poor, or no waterproofing can also cause the tiles to pop off in the shower.
Whilst tiles themselves are inherently waterproof, except for natural stone tiles, slate etc, no standard cement-based tile adhesive or grout can claim to be waterproof due to the porous nature of cement.
Easy Steps to Waterproofing Your Shower Before Tiling
- Before starting to apply the waterproofing sealant, ensure that the surface is completely free of dust.
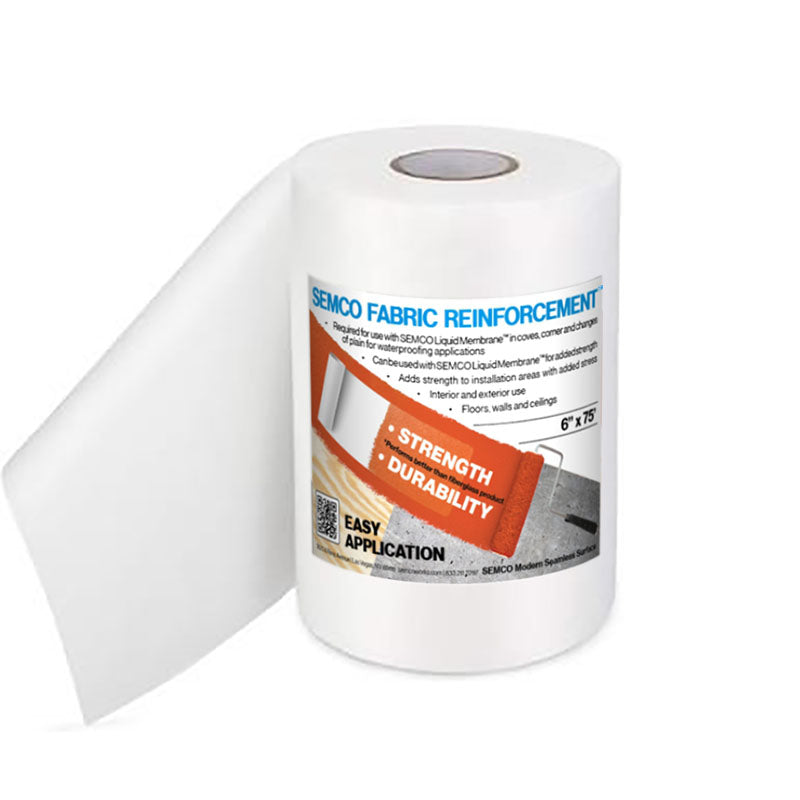
- On all the seams and joints it is important to use a reinforcement fabric to bridge any of the gaps and also to give the waterproofing paint added durability. First apply a generous coat of SEMCO Liquid Membrane Waterproofing on the joint/seams and then press the Fabric Reinforcement flat onto it while it is still wet. After about 10-15 minutes apply another coat of SEMCO Liquid Membrane over the Fabric Reinforcement in order to embed it. Once all the joints/seams are done, continue with the rest of the application area.
- Apply two coats according to the manufacturer's recommendations on the rest of the area. A minimum of two coats ( 30-40 mils total thickness ) are necessary to waterproof.
We often get the question whether you can tile over our SEMCO Liquid Membrane? The simple answer to that is yes! When we developed the product, we wanted to create something that is versatile and easy to use. Read through this great blog post to see a beautiful bathroom remodel :
https://www.addicted2decorating.com/how-to-waterproof-shower-semco-liquid-membrane.html
If you have any questions, please feel free to reach out to our team via chat, phone or mail!