

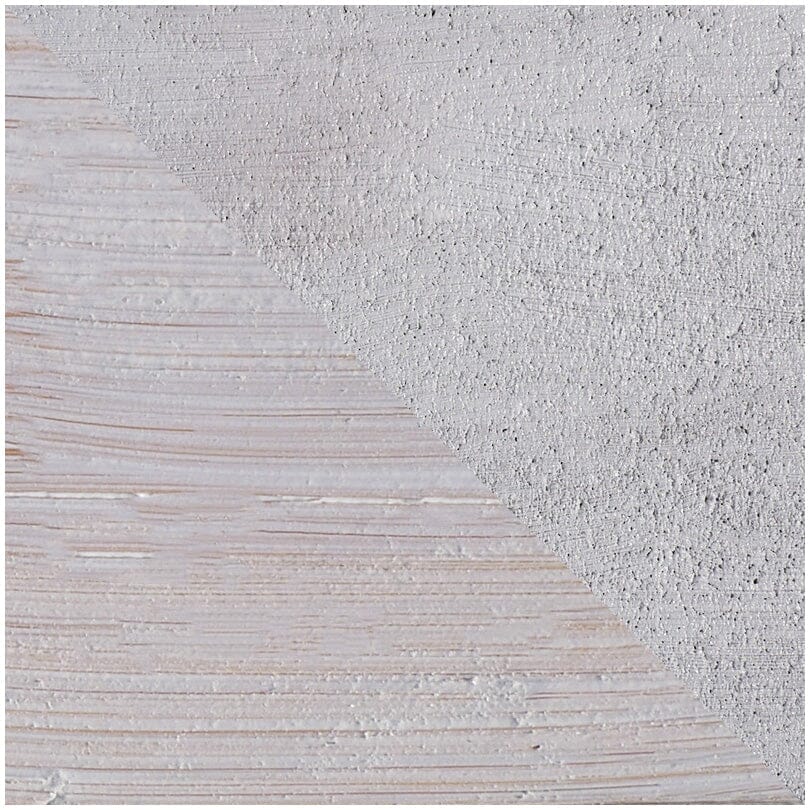
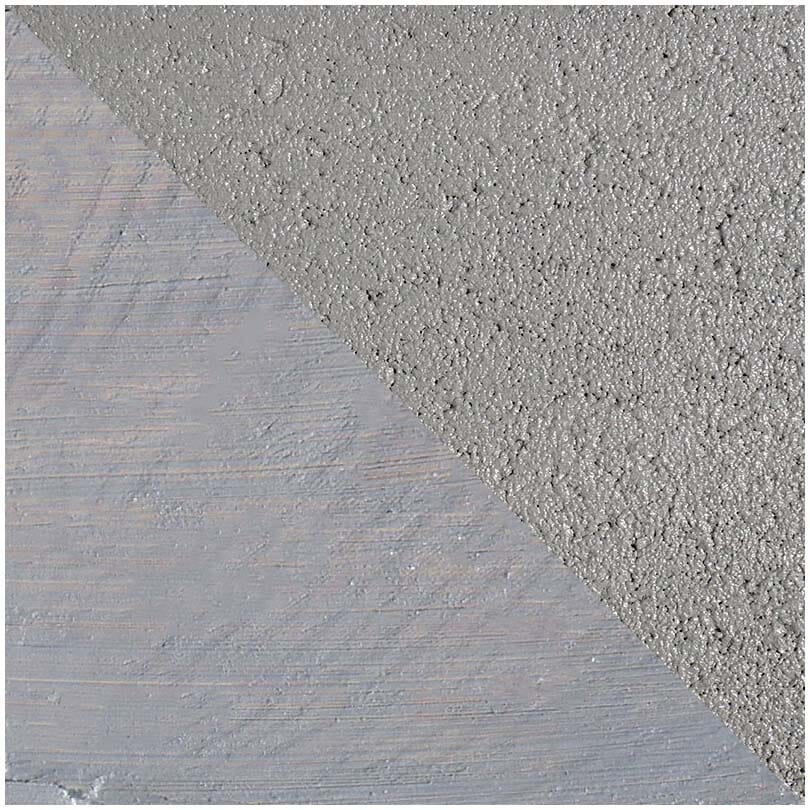
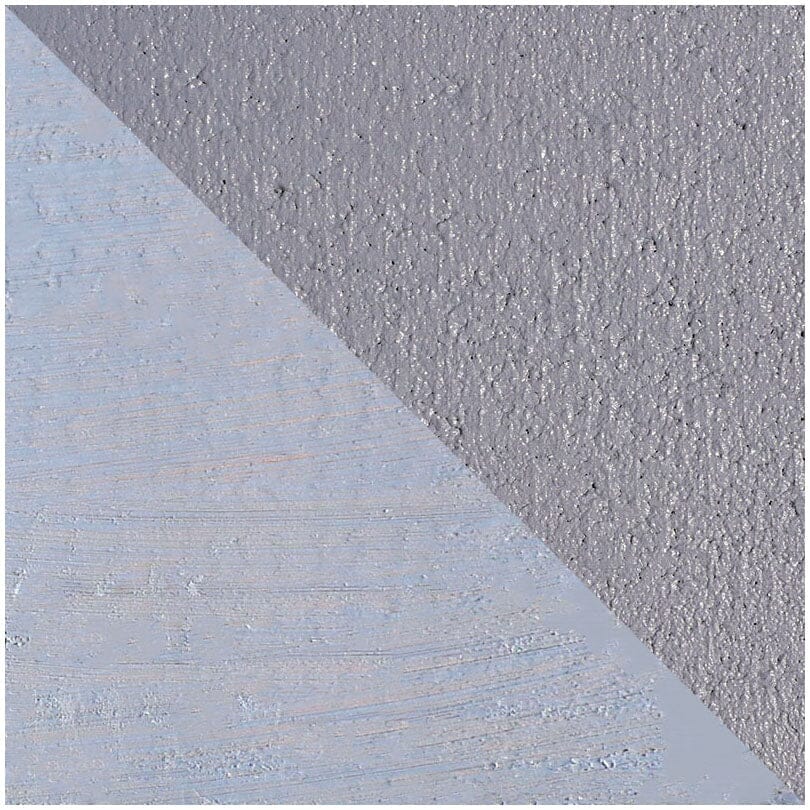
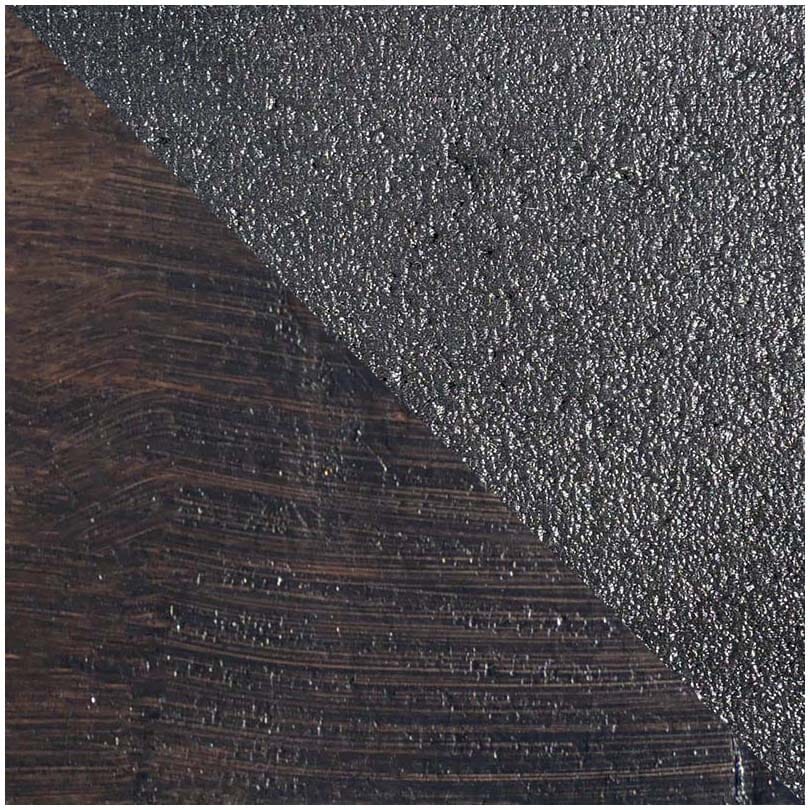

SEMCO Liquid Membrane™ Waterproofing
- One-step application – Roll, brush, or spray on two coats. No mixing, no guesswork.
- Stretches, won't crack – Flexes up to 1300% to bridge cracks without tearing.
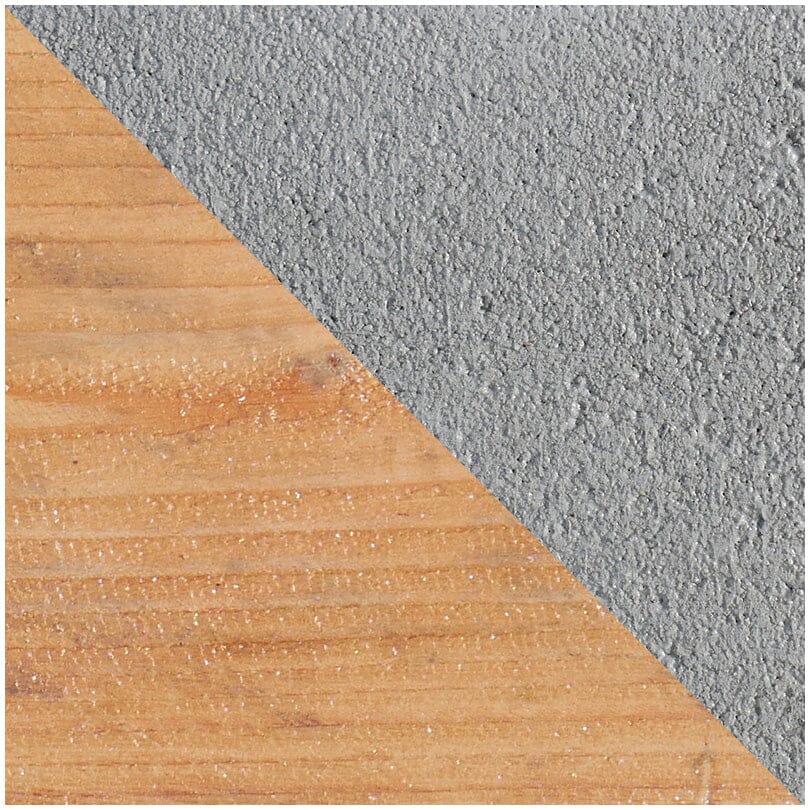
- Works on almost anything – Sticks to concrete, wood, metal, tile, and more.
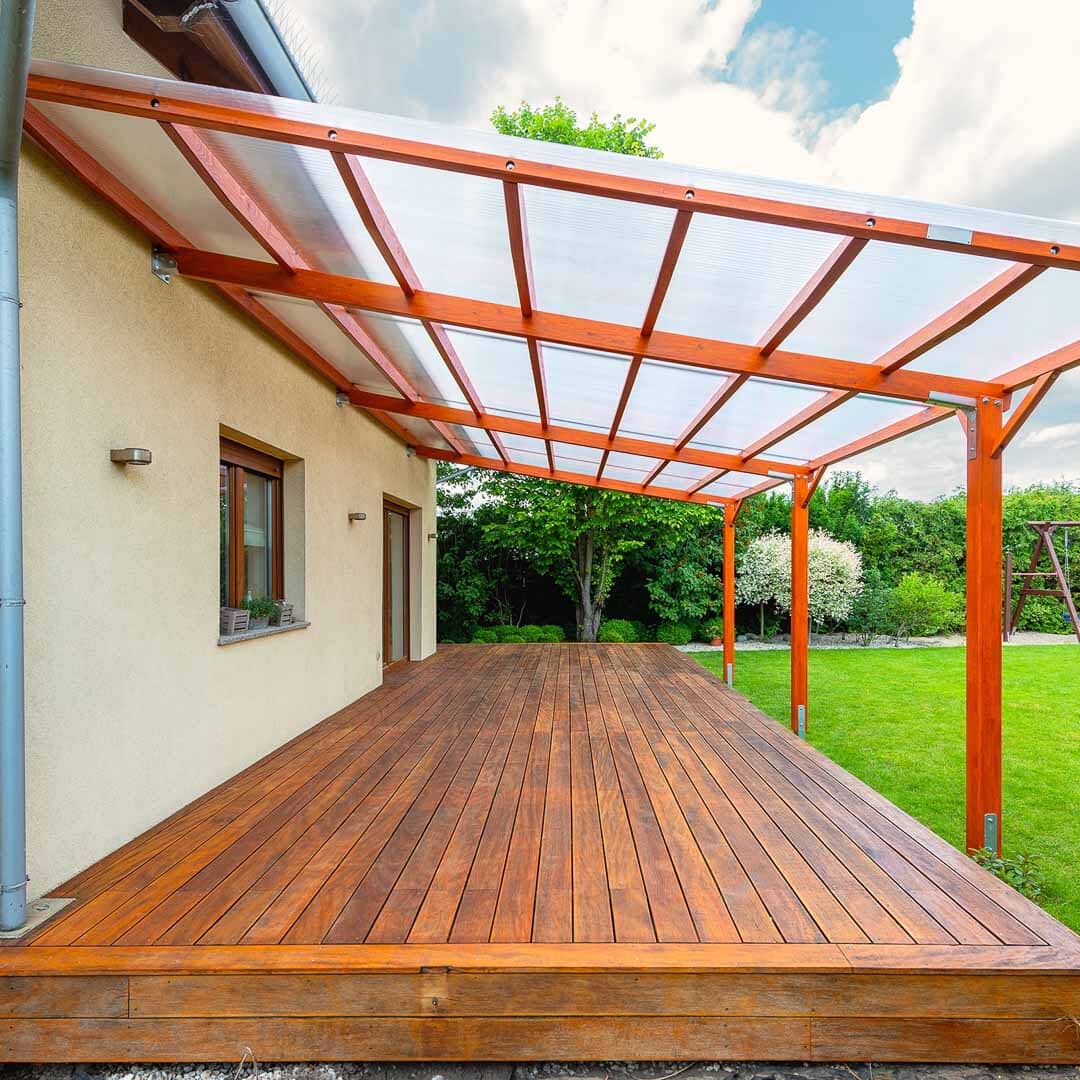
- Built for wet areas – Ideal for basements, showers, decks, foundations, and pools.
- DIY-friendly, pro-grade – Easy enough for anyone to apply, strong enough to perform like a professional product.
 1300% Elongation
 UV Resitant
 Low Odor & Low VOC
 Made in USA
- Forms a continuous waterproofing barrier with exceptional adhesion and reduces crack transmission for all surfaces.
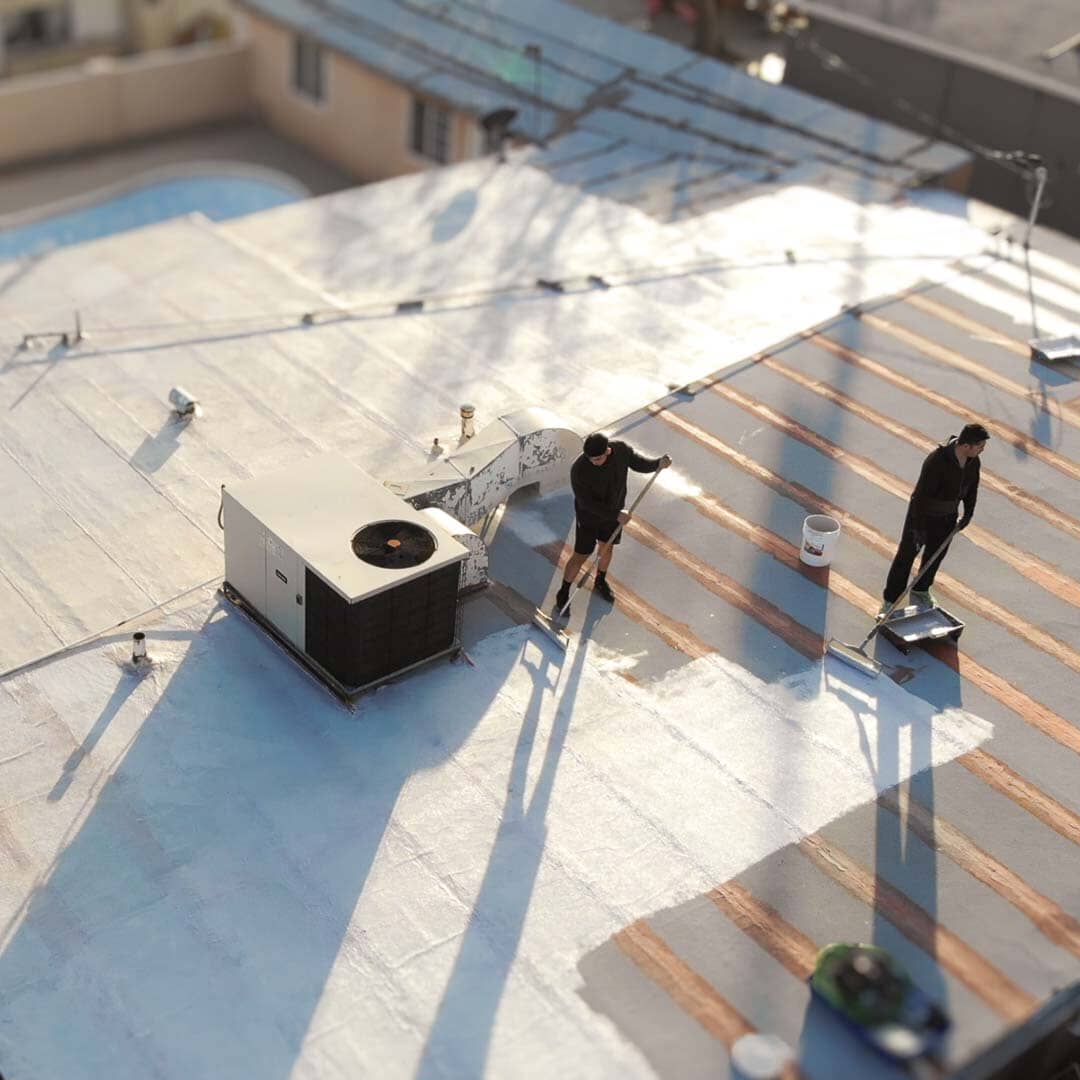
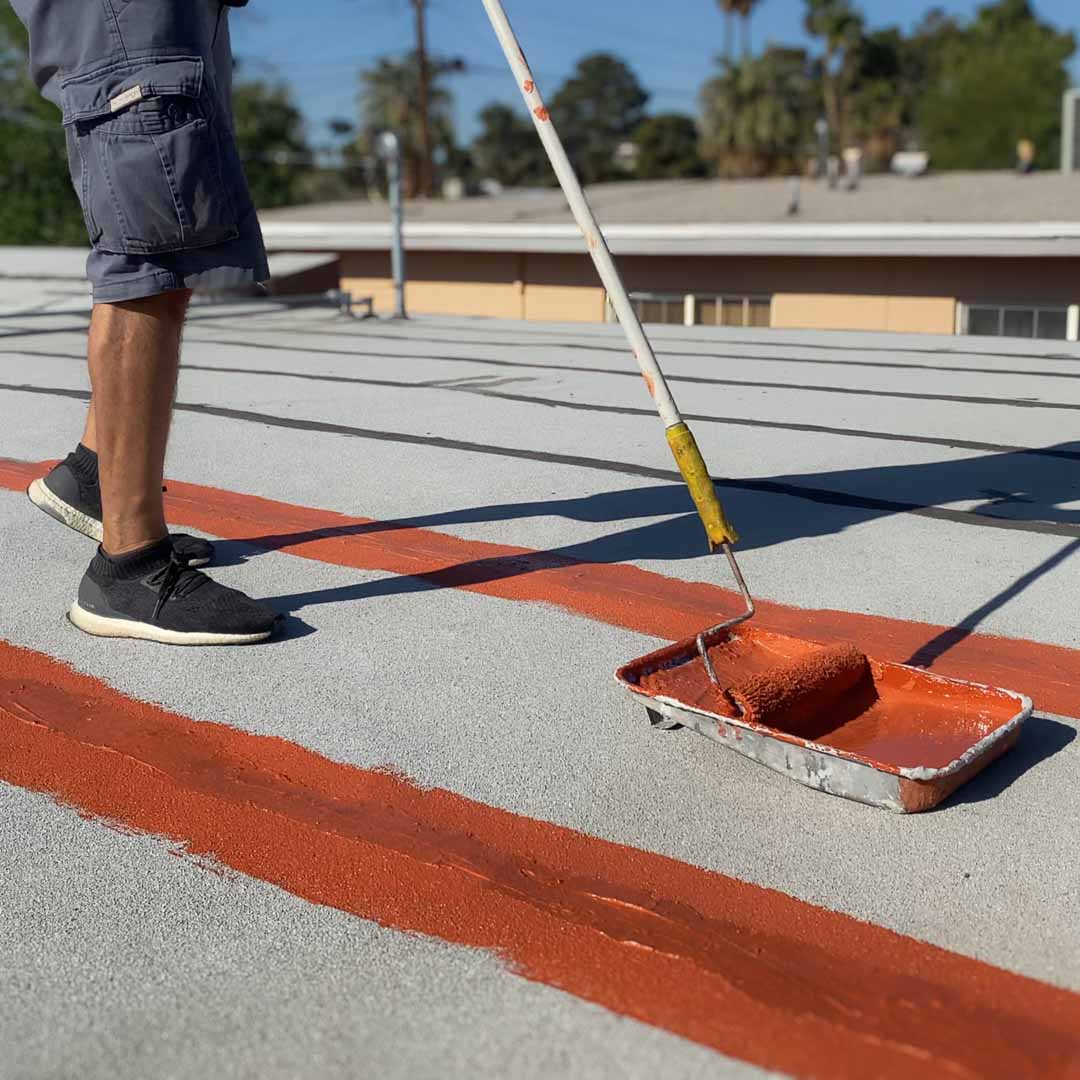
- Exceptional as metal roof sealant and exterior roof waterproofing
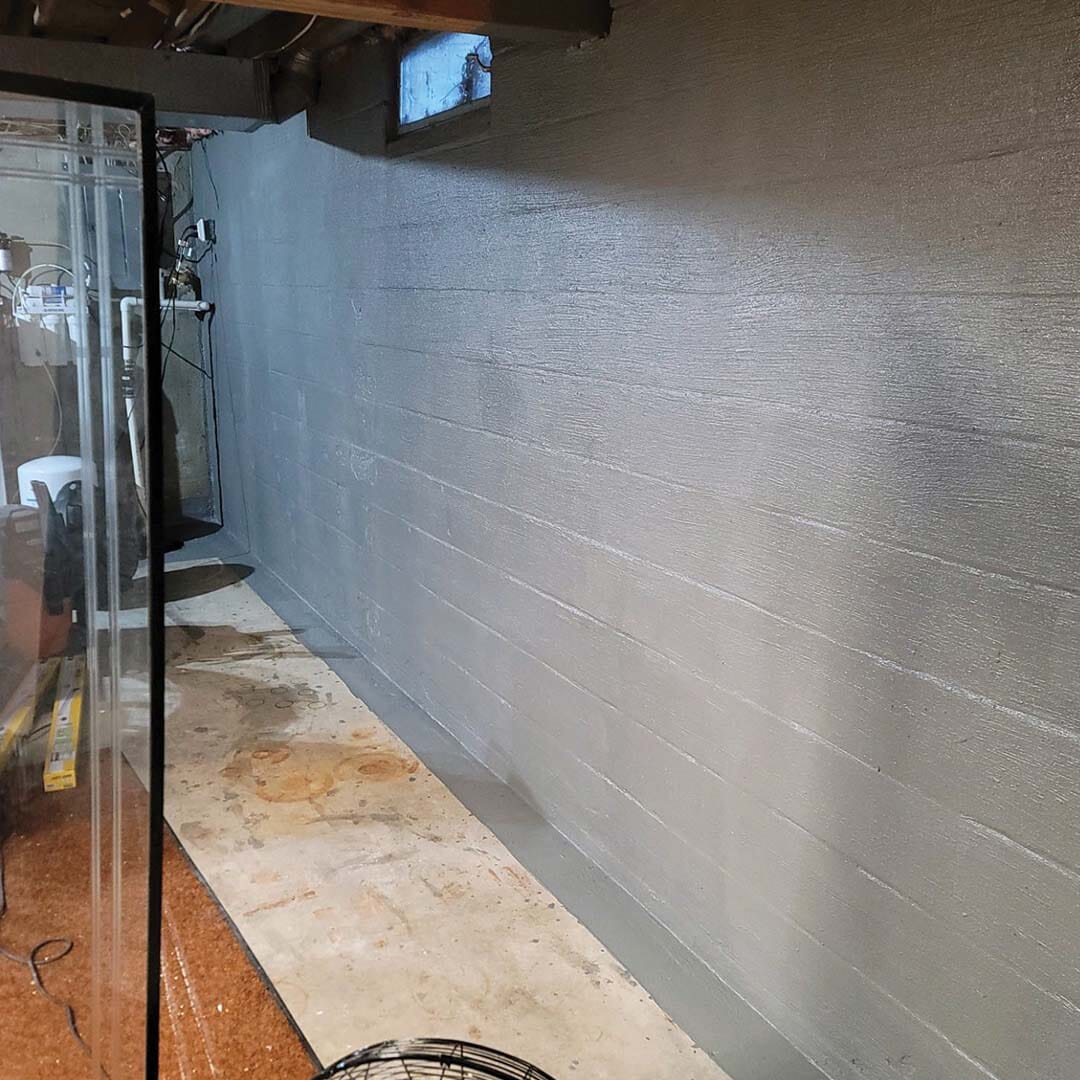
- Great for basement waterproofing and foundation waterproofing
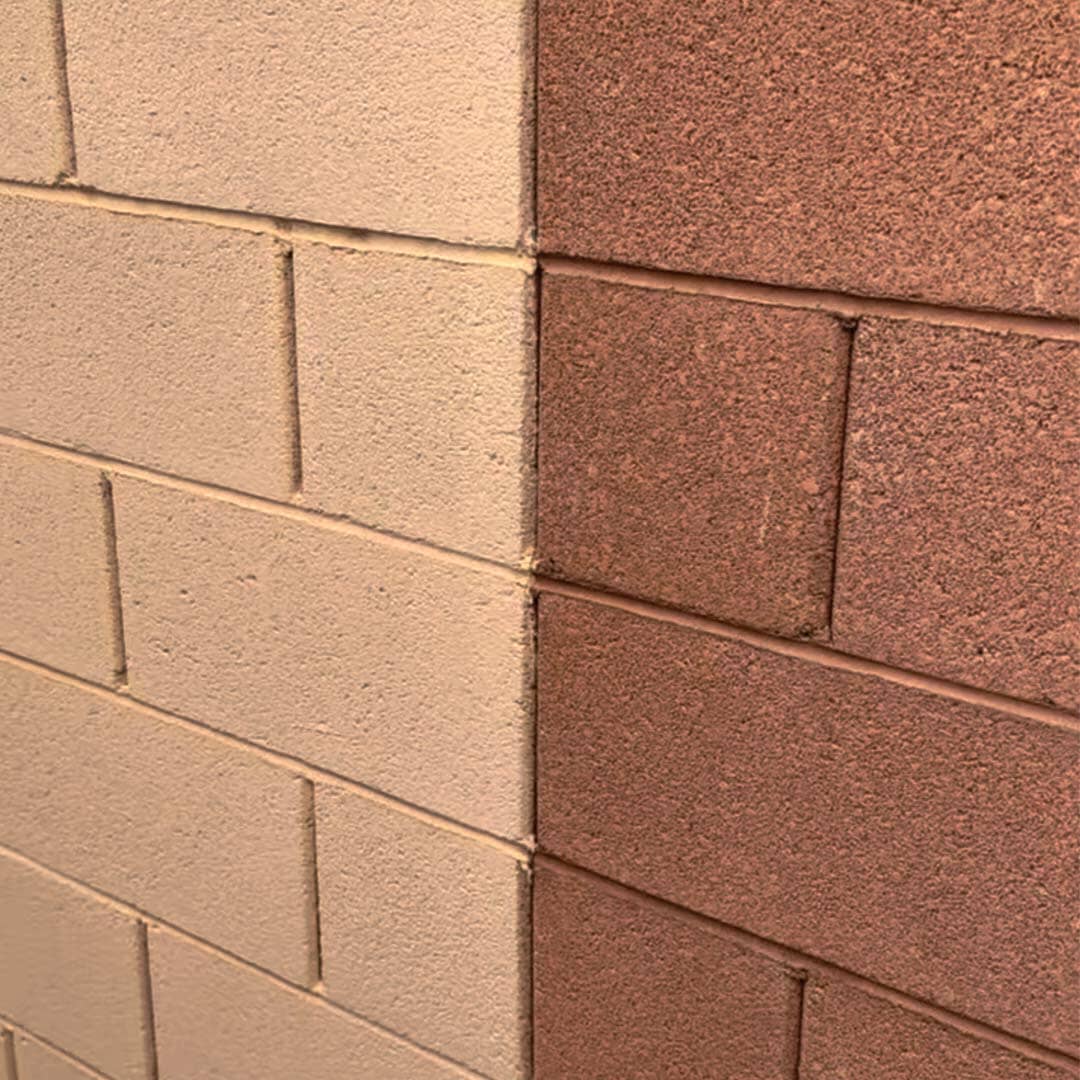
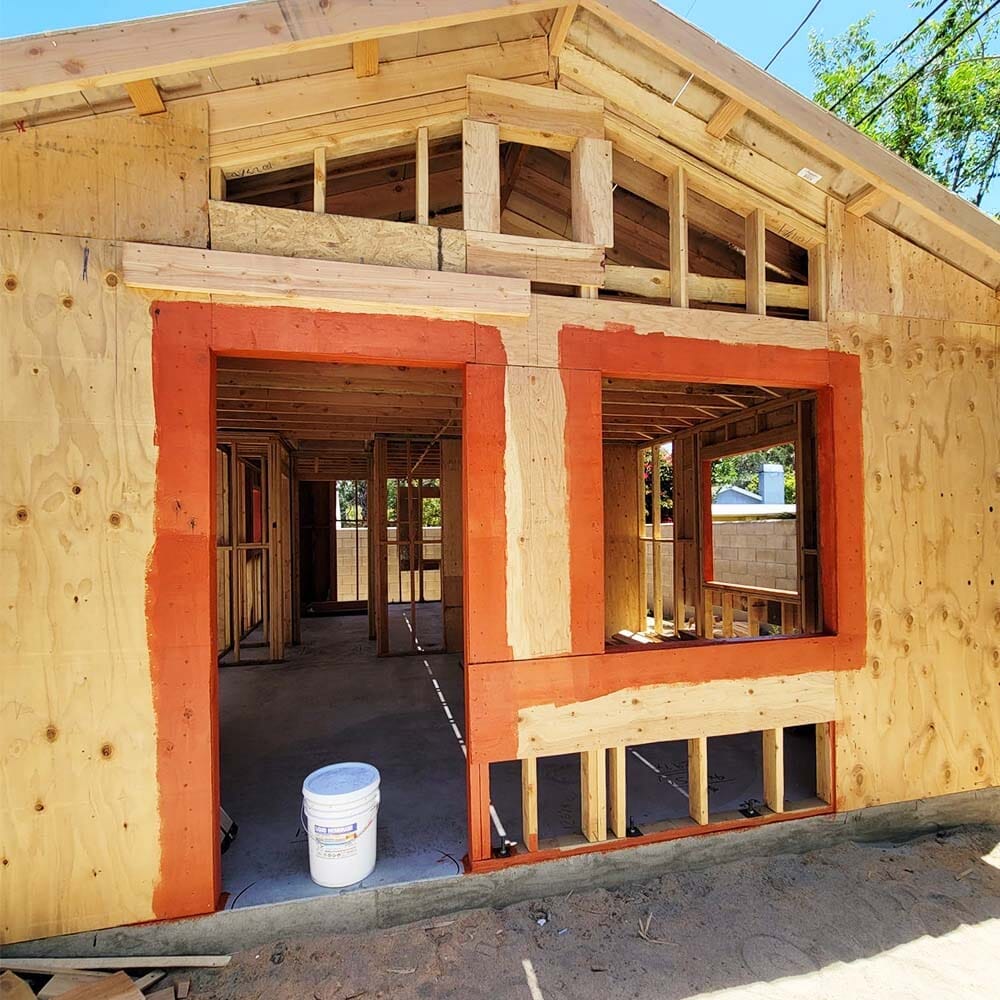
- Can be applied on Concrete, Wood, Stone, Tiles, Interior&Exterior Cladding,CMU block, Metal&Aluminium, Drywall boards, ICF blocks, RV Roofs
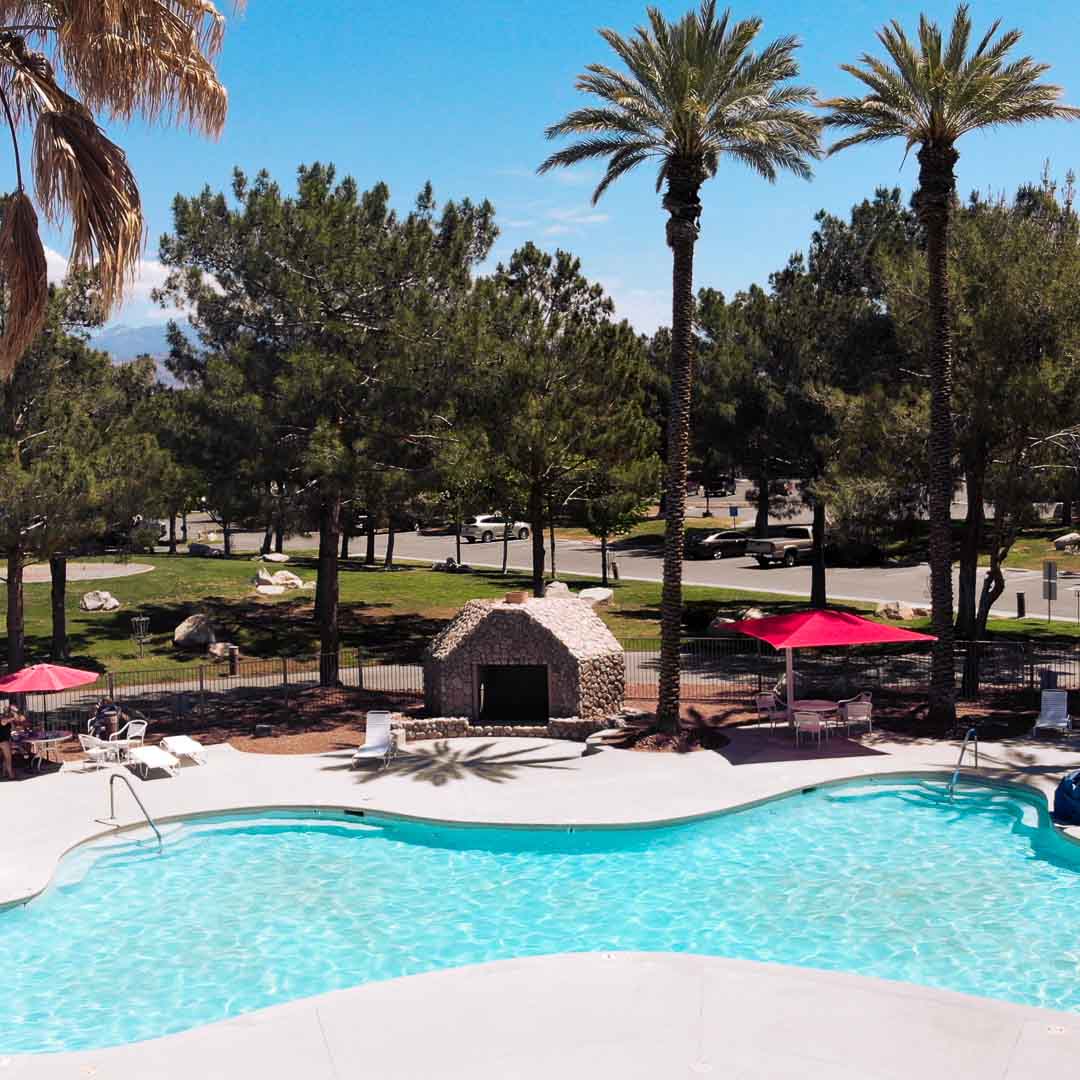
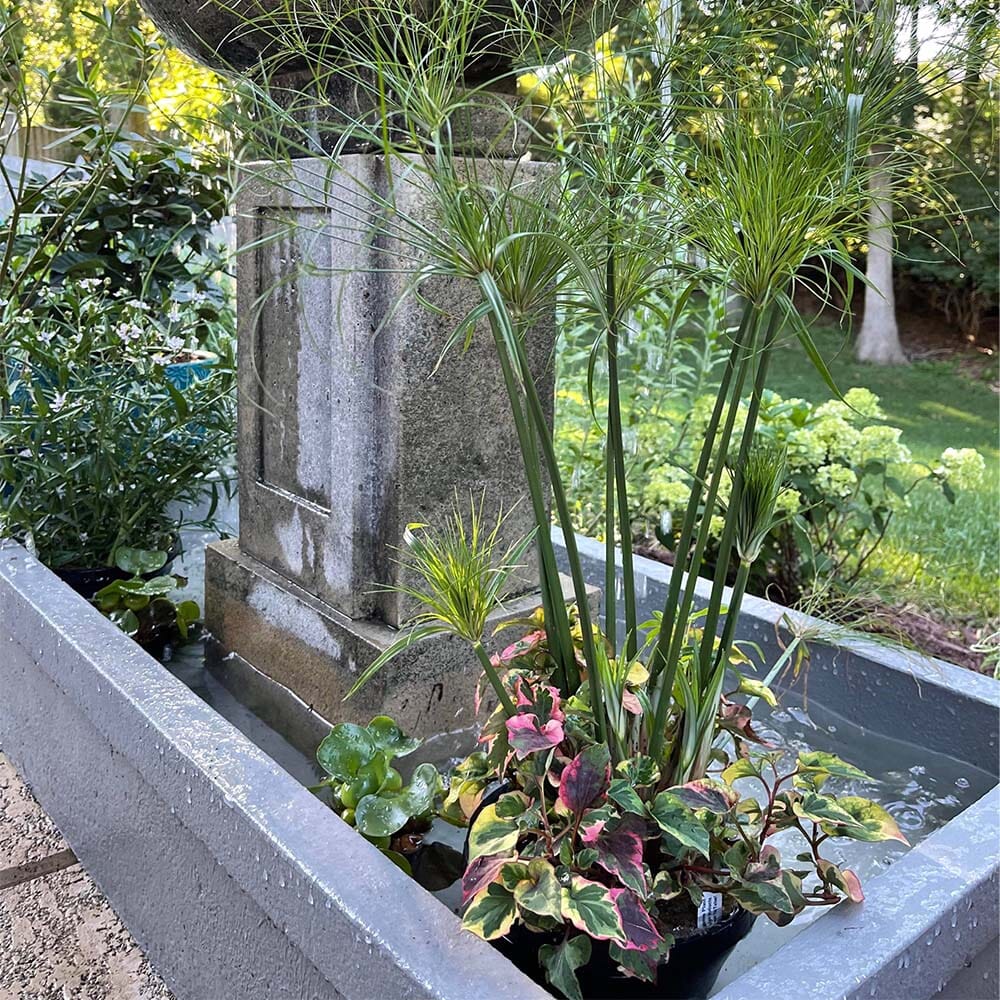
- Safe for fish, plant produce and saltwater use. For Interior, exterior, fully submerged in water and below grade applications
- Easy application with roller, brush or airless sprayer
- 5 year standard limited warranty, 10 year for non-traffic surfaces
1. True Waterproofing — Not Just Sealing
Forms a continuous seamless rubber membrane that physically blocks water migration, even on negative-side (interior) applications. Not a topical treatment that wears off.
→ Spec: Negative-side capable
2. Bonds to Everything
Adheres to concrete, wood, metal, aluminum, ceramic tile, CMU block, fiberglass, ICF, drywall, and RV roofing materials. One product for every surface type on your project.
→ Spec: 10+ substrate types
3. Outdoor UV Stability
Fully UV-resistant and suitable for exterior and exposed applications — unlike most rubber-based membranes that degrade under prolonged sun exposure. Ideal for roofs and pool decks.
→ Spec: UV-stable exterior use
4. Water-Based and Low-VOC
Water-based at 14 g/L VOC. For ponds, fountains and pools, allow the full 7-day minimum cure before filling.
→ Spec: 14 g/L VOC
5. Fast Dry. Quick Recoat.
Each coat recoat in 45–90 minutes at 72°F
→ Spec: 25–45 min recoat at 72°F"
6. Color + Coat in One Step
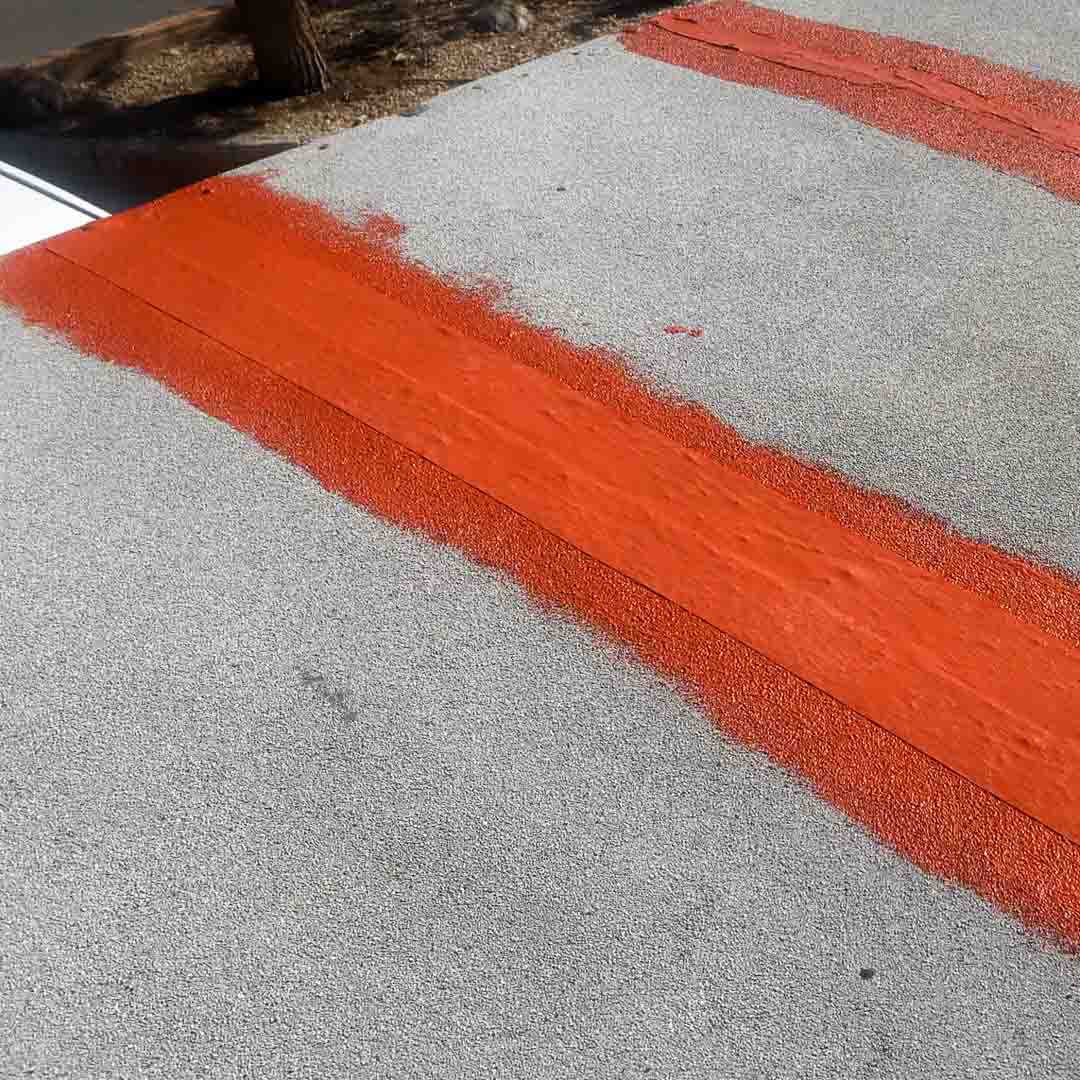
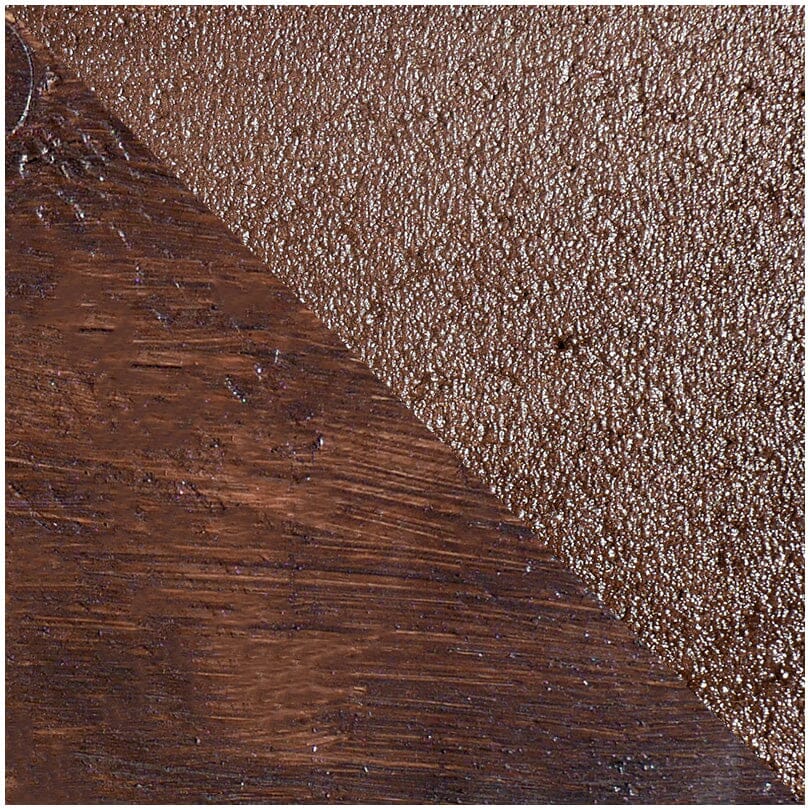
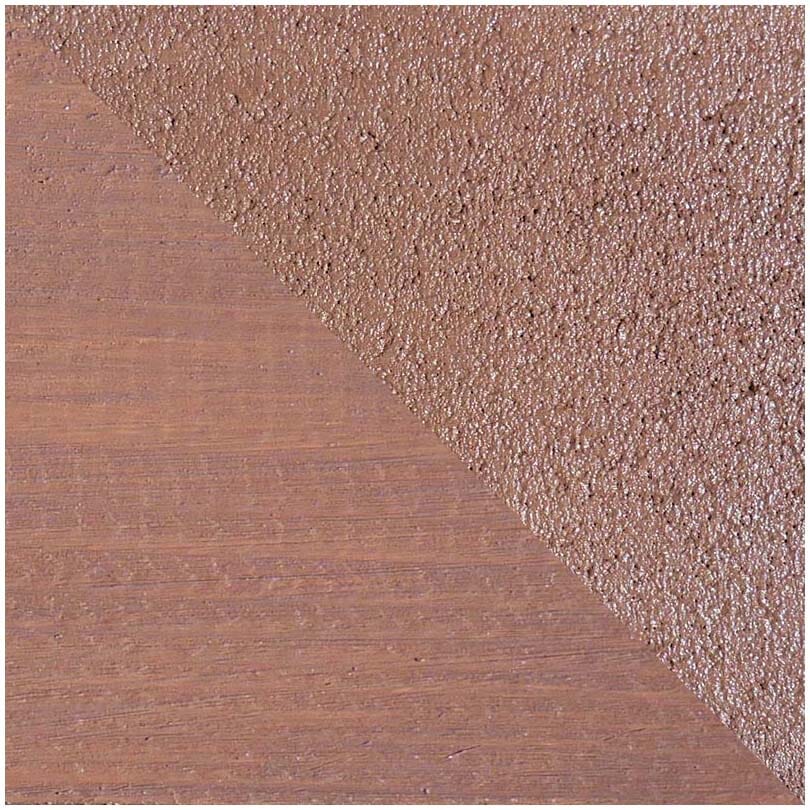
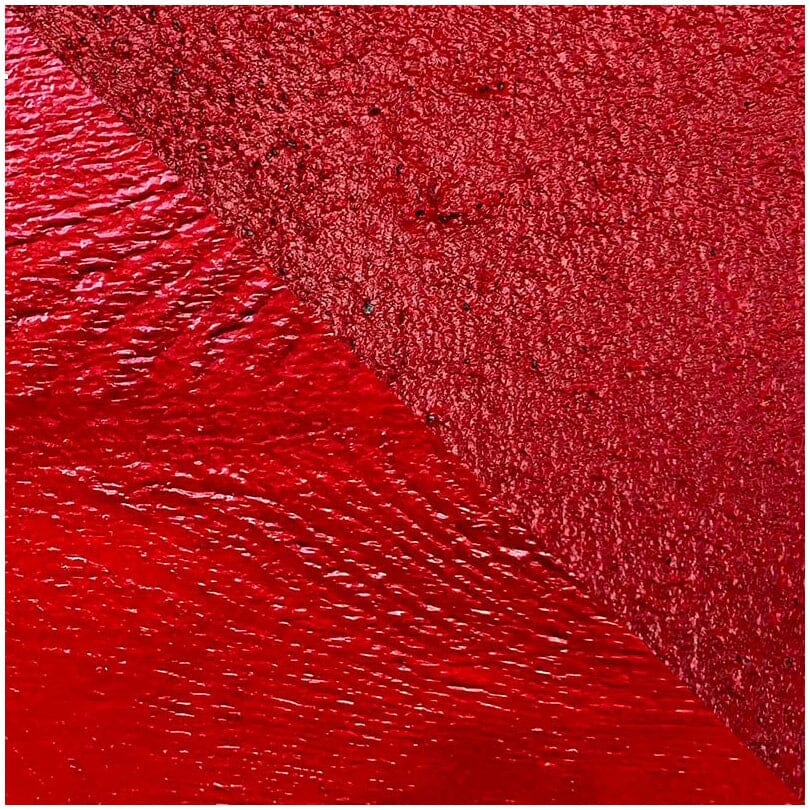
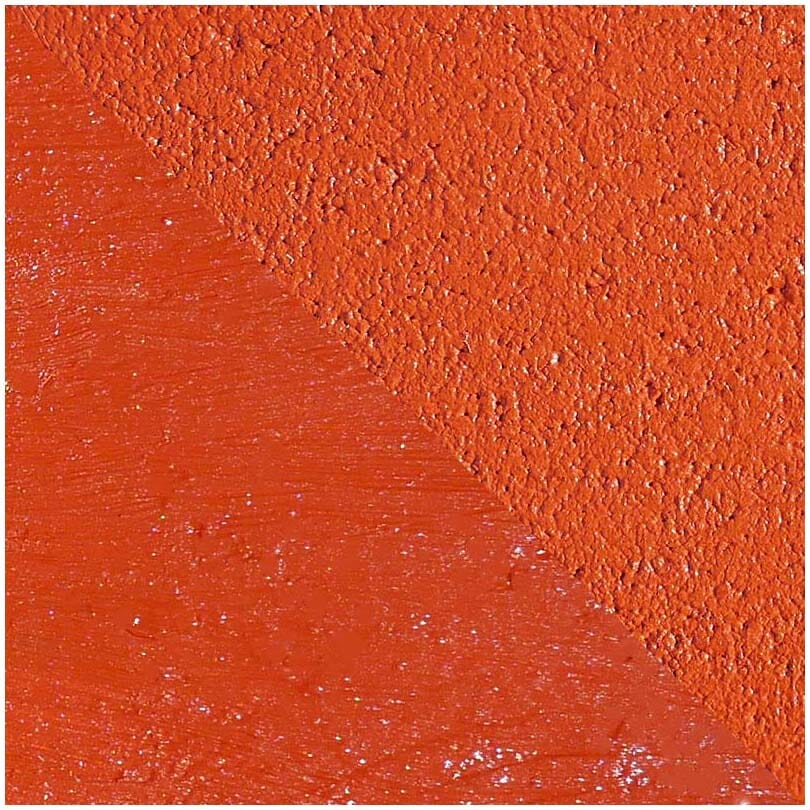
Available in 15 colors that integrate the color directly into the waterproofing coat — no separate paint needed. Choose from Semi-Clear through bold SEMCO Orange.
→ Spec: 15 colors available
7. Crack-Bridging Anti-Fracture
The elastomer matrix stretches up to 1,300% — bridging hairline cracks up to ¼” without additional treatment. Fabric reinforcement extends coverage to larger cracks and movement joints.
→ Spec: 1,300% elongation
8. Professional Grade at DIY Cost
At $0.43/sq ft on a 5-gallon pail.
→ Spec: $0.43/sq ft from 5 gal
9. Warranty You Can Count On
Backed by a 5-year standard limited warranty, and 10 years for non-traffic surfaces. Proven in basements, pools, and flat roofs across thousands of installations.
→ Spec: Up to 10-year warranty
- Concrete & below-grade foundations: Seals micro-pores to block rising groundwater and hydrostatic pressure.
- Basement walls & waterproofing: Stops lateral moisture penetration and eliminates dampness on interior or exterior masonry.
- Exterior waterproofing: Creates a seamless weather-shield that stops rain driving into building envelopes.
- Waterproof sealer for wood: Prevents rot, warping, and water-logging while allowing the timber to breathe.
- Fiberglass & concrete pools: Rated for permanent deep aquatic submersion and continuous pool chemical exposure.
- Stone & tile underlays: Formulates an aggressive anti-fracture barrier directly beneath thin-set mortar beds.
- Interior & exterior cladding: Back-seals siding and facade panels against trapped moisture and wind-driven rain.
- Metal & aluminum surfaces: Adheres tightly to slick non-porous metals to stop rust and oxidation tracks.
- Drywall, sheetrock, & cement boards: Toughens fragile wall boards into completely water-impermeable tile backing substrates.
- ICF blocks (Insulated Concrete Forms): Safely waterproofs polystyrene foam blocks without melting or degrading the material.
- Roof & asphalt shingles: Renews old shingles with a seamless, UV-stable elastomeric membrane coating.
- Zero-experience DIY friendly: Ready-to-use, single-component formula straight out of the bucket with no complex chemical mixing or measuring required.
- Standard paint roller application: Applies effortlessly using a standard 1/2" nap roller cover, making vertical walls and flat floors quick to coat.
- Rapid-dry time window: Recoats in 45–90 minutes at 72°F, allowing you to apply your mandatory second coat on the same day.
- Eco-friendly & low odor: Water-based and low-VOC at 14 g/L, with low odor for bathrooms, basements and crawlspaces.
- Built-in coverage tracking: The wet membrane applies as a smooth, visible layer so you can easily spot and fill any missed patches before it cures.
- Ensure a flawless application by properly preparing the surface before applying SEMCO Liquid Membrane waterproofing. For best results, follow our simple step-by-step guide below and experience the ultimate waterproofing for your surfaces.
- Once the surface is fully prepped and dry, apply the SEMCO Liquid Membrane using a 1/2" woven nap roller. This ensures an even, seamless coat for maximum waterproofing protection.
- For optimal performance, apply at least 2 coats, each 15 mils thick. For submerged applications, such as swimming pools or fountains, a minimum of 3 coats is recommended to ensure superior waterproofing and durability.
- Scroll down for a detailed step-by-step application guide, or feel free to reach out to our friendly customer service team for any assistance you may need. We're here to help!
Work out what you need
How much will your project take?
Tell us the project and the area. We'll size the membrane and add the right prep cleaners for your surface — no guessing which ones you need.
Not sure? Length × width for a floor. For walls, add each wall's length × height.
Pick your project and enter the area — we'll work out exactly what you need.
Cleaners are only needed if the surface has contaminants — untick anything you already have.
The numbers
Every claim here has a test behind it.
Stretches thirteen times its length before failing — which is what lets it bridge a crack a rigid coating would split across.
173 PSI at 7 days, building to 234 at four weeks (ANSI 118.10). Pressure pushing outward has to beat that bond to lift the film.
Blocks liquid water while still passing vapor, so the surface isn't sealed into a moisture trap.
Water-based and low odor — safe for an enclosed basement or crawl space with one small window.
Certified as a primary waterproofing layer under the German and EU standard for liquid-applied products.
Coverage may vary depending on porosity of your surface, but still beats most of the competition.

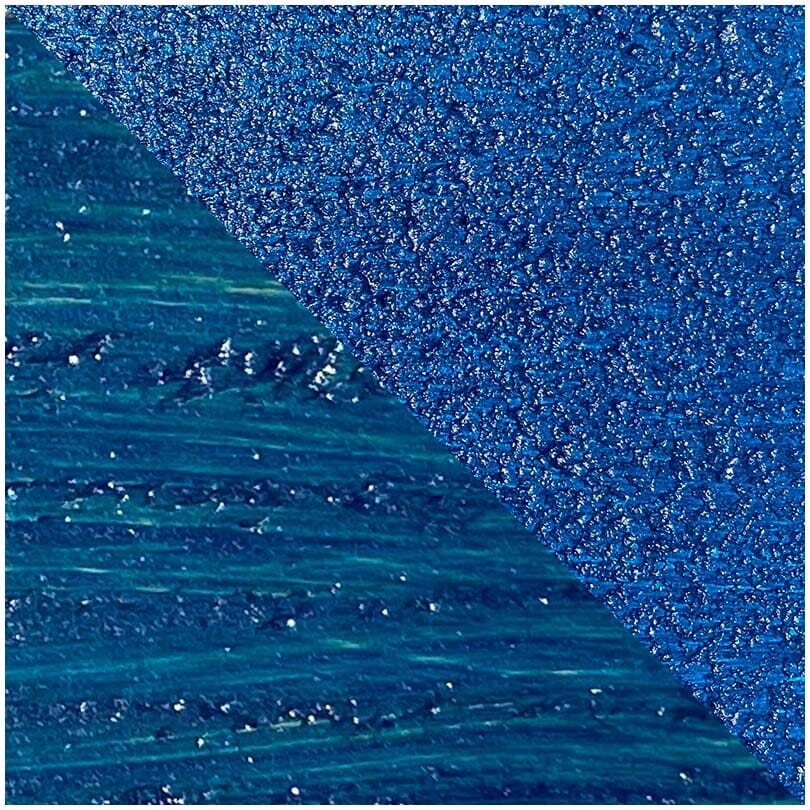
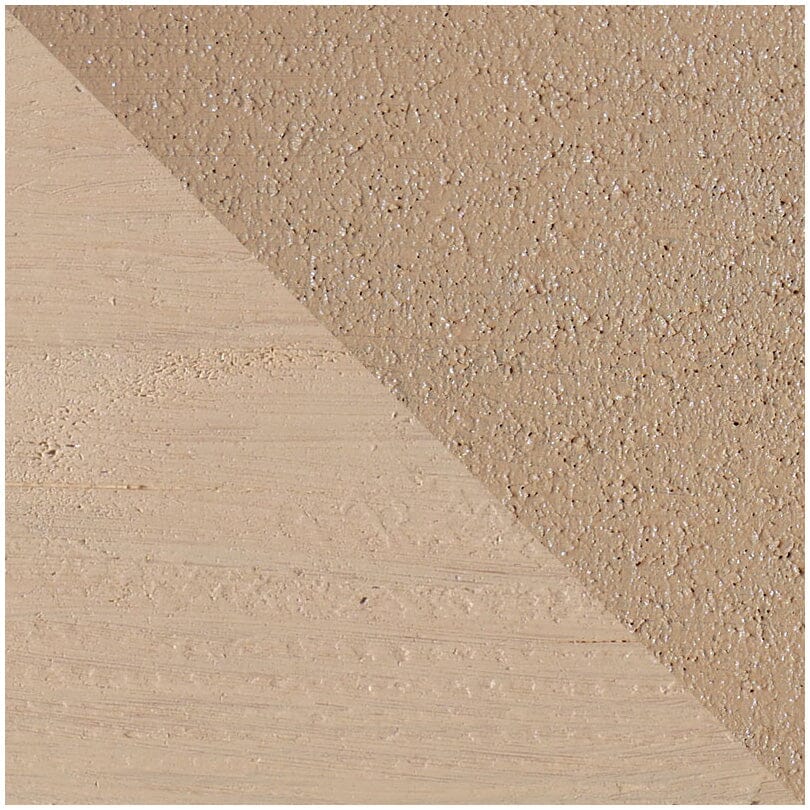
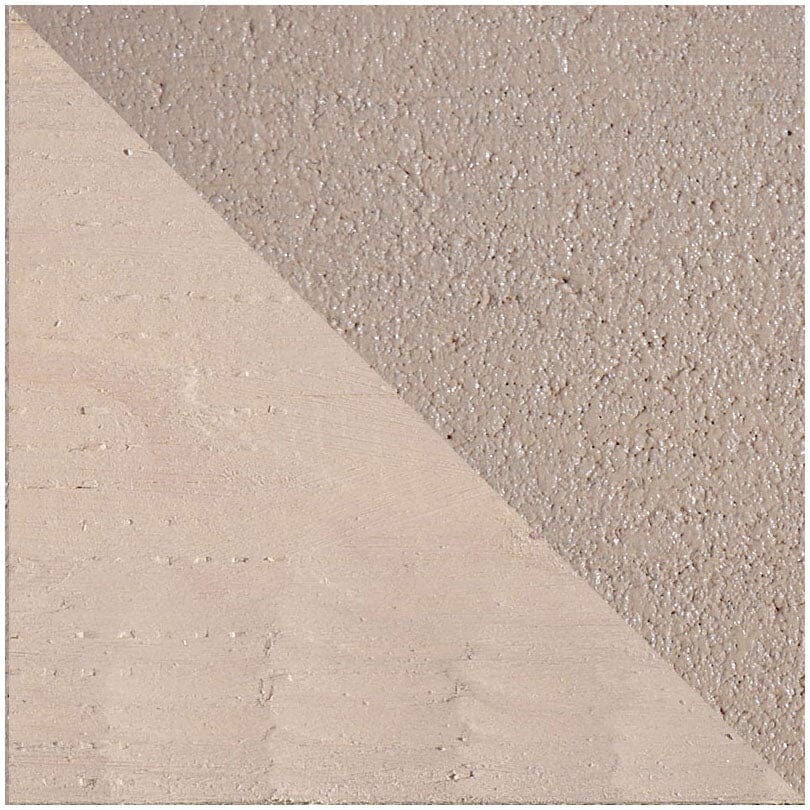
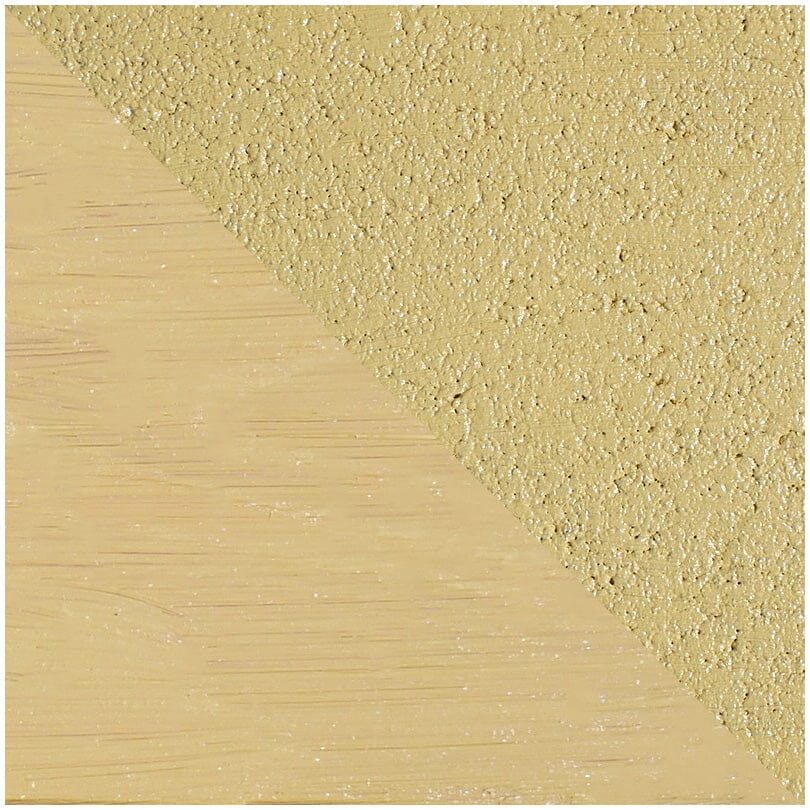
SEMCO Liquid Membrane Colors
Due to Computer Monitors, Colors may not be exactly as shown. For applications which are fully submerged in water or in contact with water over an extended period of time, we do recommend adding EXTRA PIGMENT and not using semi-clear.
PRODUCT INFO
SEMCO Liquid Membrane™ is a ready-to-use, hybrid elastomer waterproofing membrane that combines three functions in one product: COAT · COLOR · SEAL. It forms a continuous, flexible rubber-like film that bonds directly to almost any surface — stopping water in its tracks.
Unlike traditional rubber or silicone-based waterproofing, SEMCO Liquid Membrane uses a proprietary elastomer blend that bonds at 234 PSI after four weeks (ANSI A118.10), stretches 1,300% (ASTM D412) and recoats in 25–45 minutes. It is water-based and low-VOC at 14 g/L, and is used in pools, fish ponds and fountains once fully cured.
It’s designed to be DIY-friendly without sacrificing professional performance. Whether you’re waterproofing a basement from the inside, coating a flat roof, lining a decorative fountain, or restoring an aging deck, SEMCO Liquid Membrane adapts to your project.
- Type – Single-component, latex-crosslink hybrid waterproofing and anti-fracture membrane
- Elongation – Up to 1300% stretch (ASTM D412), providing long-term crack suppression
- Adhesion/shear strength – 173 PSI (7-day), 234 PSI (4-week), 132 PSI after 7-day water immersion (ANSI 118.10)
- Tensile strength – 390 PSI maximum stress (ISO 37 / ASTM D412)
- Coverage – 100–250 sq ft per gallon (2 coats), depending on substrate porosity
- Application – Roll (1/2" nap roller), brush, or airless spray (min. 2,500 PSI, tip size 21); minimum 2 coats, 30 mil total thickness
- Application temperature – 50°F to 90°F
- Dry time – Recoat in 25–45 minutes at 72°F; ready for finish in as little as 2 hours
- Cure time – 5–10 days depending on temperature (faster in heat, slower in cold)
- VOC content – 14 g/L (0.20%) — low VOC, odorless
- Substrates – Concrete, plywood, stone, interior/exterior cladding
- Testing – Passes ANSI 118.10 breaking strength and dimensional stability standards
- Shelf life – 2 years in controlled ambient storage (60–72°F)
SEMCO Liquid Membrane™ is trusted by professional waterproofing contractors, builders, pool service companies, property managers, and facilities teams across the country. We offer dedicated support and volume pricing for businesses.
Benefits List
- Volume discount pricing on 5-gallon pails and case ordersPriority technical support from application experts
- Fast reorder history and account management
- Co-branded project documentation and spec sheets available
- Suitable for: waterproofing contractors, pool builders, property maintenance, HOAs, facility managers
CTAs
- Enquire About Pro Pricing → CONTACT US
- Call Us: 1-833-211-2297
The full version
Detailed application instructions.
Pick your project. Every step, with the detail you’ll want while you’re actually doing it.
01 Clean the surface — Prep D
You’ll need: Nu-Lift Cleaner · Stone Soap
Basement walls and floors carry mineral deposits, efflorescence — that white chalky bloom — and old residue. None of it lets a coating bond.
- Remove loose paint, dust and debris. Scrape anything flaking.
- Wet the surface, then apply Nu-Lift Cleaner and work it in with a stiff bristle brush to lift mineral deposits and efflorescence.
- Rinse with fresh water.
- Follow with Stone Soap to remove the residue Nu-Lift released and rebalance the surface pH, then rinse again.
- Let it dry completely — hours, not minutes. This is the step people rush.
02 Bridge cracks wider than ¼"
You’ll need: Fabric Reinforcement · Liquid Membrane
Hairline cracks need nothing — the membrane spans those on its own. Anything wider will reopen and telegraph through unless it’s reinforced.
- Fill large cracks first with foam or hydraulic filler.
- Apply a generous coat of Liquid Membrane over the crack.
- Lay Fabric Reinforcement into the wet coating and press it flat.
- Wait 10–15 minutes.
- Coat over the fabric again to fully encapsulate it.
- Let it dry to the touch before moving on.
03 Mask off
Tape anything not being coated — frames, fixtures, pipe collars, the edge of a floor you’re stopping at.
04 Roll two coats
You’ll need: Liquid Membrane · ½" nap roller
- Check any pre-treated areas from step 2 are fully dry.
- Stir the product well. Pigments settle, and unstirred product gives uneven color.
- Apply a thin, even coat over the whole surface including the pre-treated areas.
- Wait for the recoat window: it’s ready when you can walk on it without leaving residue, and can’t leave a fingerprint. Roughly 25–45 minutes at 72°F.
- Apply the second coat perpendicular to the first. Both coats go on the same day.
- Let it dry to touch — roughly 1–2 hours at 70°F and 50% humidity.
- Inspect for pinholes, voids and thin spots. It dries lighter, which makes them easier to see. Touch up with more membrane.
05 Let it cure
Initial cure is at least 7 days, and longer if the coats went on thick or the air is humid. Keep water off it for the whole window — the surface needs to be fully cured and hard before it sees any.
06 Seal the floor — if it takes traffic
Floors only · walls need nothing
The membrane is rated for light foot traffic. If your floor will carry regular walking, furniture, shelving, appliances or storage, add a topcoat about 2 days after the last coat of membrane — not as soon as it’s dry to touch.
- Titan Shield Gloss — a water-based polyurethane hybrid and the tougher of the two. Three coats, roughly 150 sq ft per gallon. Choose it for heavy traffic or heavy objects standing on the floor.
- SEMCO Sealer MATTE — the same protection without the shine. Two coats, roughly 120 sq ft per gallon. Choose it for a finished basement where gloss would look wrong.
| Membrane coverage | ~200 sq ft per gallon at 2 coats |
| Recoat window | When it holds no fingerprint — same day |
| Dry to touch | 1–2 hours at 70°F |
| Initial cure | 7 days minimum · longer if thick or humid |
| Temperature | 50–85°F · out of direct sun |
| Max substrate moisture | 3% |
| Cleanup | Warm water, straight after use |
01 Expose, clean and dry
You’ll need: Nu-Lift Cleaner · Stone Soap
- Excavate to the footing where you can, or as deep as the problem goes.
- Remove soil, roots, loose mortar and anything flaking. Old tar can stay if it’s sound.
- Apply Nu-Lift Cleaner, work it in with a stiff brush, rinse.
- Follow with Stone Soap to clear the residue and rebalance the surface pH, then rinse again.
- Let it dry completely. A wall that has been underground holds moisture — give it more time than you think.
02 Fill and reinforce
You’ll need: filler · Fabric Reinforcement · Liquid Membrane
- Fill large voids with foam or hydraulic filler and let it cure.
- Cracks up to ¼" the membrane bridges on its own — a customer about to buy cement for a hairline crack found he didn’t need it.
- Anything wider, or any joint that moves: coat, lay in Fabric Reinforcement, wait 10–15 minutes, coat over it.
- Do the same at the footing junction, around bulkheads and along the sill plate line.
03 Coat the wall
- Stir well — pigments settle and unstirred product gives uneven color.
- ½" nap roller on flat concrete; a masonry brush for block, stone and stucco.
- Two coats on smooth poured concrete, three on block or stone, four to five on ICF foam.
- Recoat when it holds no fingerprint — a day apart is common in cool weather.
04 Cure, drain, backfill
Initial cure is at least 7 days, and longer if the coats went on thick or the air is humid.
| Poured concrete | ~200 sq ft per gallon at 2 coats |
| Block | ~150 sq ft per gallon at 3 coats |
| Stone or rubble | ~120 sq ft per gallon at 3 coats |
| ICF foam forms | ~100 sq ft per gallon at 4 coats |
| Bridges cracks up to | ¼" without fabric |
| Cure before backfill | 7 days minimum · longer if humid |
01 Clean the surface
Every surface needs the right cleaner pair. Here is the rule.
- EPDM, rubber, shingle, torch-down — Prep B: Power Cleaner then Stone Soap. Power Cleaner cuts through grease, weathering and chalk; Stone Soap clears the residue and rebalances the surface pH.
- Metal, concrete decks, gutters — Prep D: Nu-Lift then Stone Soap. Nu-Lift chemically etches the surface and lifts oxidation; Stone Soap clears the residue and rebalances the surface pH.
- Plywood or timber — Prep E: sand with 60-grit. No cleaner; wood absorbs water.
- Unknown coating — Prep C: Power Cleaner then Nu-Lift.
- Clear debris, moss and loose granules first.
- Apply the cleaner, work it in with a stiff brush, rinse thoroughly.
- Follow with Stone Soap — it clears the residue and rebalances the surface pH — then rinse again.
- Let it dry completely before you coat.
02 Reinforce every seam and penetration
You’ll need: Fabric Reinforcement · Liquid Membrane
Roofs leak at joins, not in the field. Treat every one of them before you coat the surface.
- Apply a generous coat of membrane along the seam, lap, edge or around the penetration.
- Lay Fabric Reinforcement into the wet coating and press it flat.
- Wait 10–15 minutes.
- Coat over the fabric to fully encapsulate it, and let it dry to touch.
03 Roll two coats over everything
You’ll need: Liquid Membrane · ½" nap roller · extension pole
- Check the reinforced areas from step 2 are fully dry.
- Stir the product well — pigments settle, and unstirred product gives uneven color.
- Apply a thin, even coat across the entire surface.
- Recoat when it holds no fingerprint — roughly 25–45 minutes at 72°F.
- Second coat perpendicular to the first. Both coats the same day.
- Inspect for pinholes and thin spots; it dries lighter, which makes them easier to see.
04 Cure — and watch the forecast
Dry to touch in about an hour. Initial cure is at least 7 days — longer with thick coats or high humidity. Apply between 50–85°F, out of direct sun.
| Coverage | ~200 sq ft per gallon at 2 coats |
| Recoat window | When it holds no fingerprint — same day |
| Initial cure | 7 days minimum · longer if thick or humid |
| Temperature | 50–85°F · out of direct sun |
| Corrugated metal | Add ~25% for profile |
| Cleanup | Warm water, straight after use |
01 Clean the roof
- EPDM, TPO, fiberglass — Prep B: Power Cleaner then Stone Soap.
- Aluminum or metal — Prep D: Nu-Lift then Stone Soap. Nu-Lift chemically etches the surface.
- Previously coated or unknown — Prep C: Power Cleaner then Nu-Lift.
- Sweep off debris and wash away road film.
- Apply the first cleaner, work it in with a soft brush, rinse thoroughly.
- Follow with the second, rinse again.
- Let it dry completely before you coat.
02 Reinforce every penetration
You’ll need: Fabric Reinforcement · Liquid Membrane
- Coat around the penetration generously.
- Lay Fabric Reinforcement into the wet coating and press it flat.
- Wait 10–15 minutes, then coat over it to encapsulate.
03 Roll two coats
- Check the reinforced areas are fully dry.
- Stir the product well — pigments settle and unstirred product gives uneven color.
- ½" nap roller, thin and even. Second coat perpendicular to the first, same day.
- Inspect for pinholes and thin spots — it dries lighter, which makes them easy to see.
04 Cure — and watch the forecast
Dry to touch in about an hour. Initial cure is at least 7 days — longer with thick coats or high humidity. Apply between 50–85°F, out of direct sun.
| Coverage | ~200 sq ft per gallon at 2 coats |
| Roof area | Length × 8 ft (typical RV width) |
| Initial cure | 7 days minimum · longer if thick or humid |
| Temperature | 50–85°F · out of direct sun |
| Warranty | 5 years, covers mobile applications |
| Primer | None — prep only |
01 Strip, sand and dry
Prep E · 60-grit · no cleaner
- Pressure wash to remove dirt, algae and loose fibres.
- Sand off every trace of old stain, sealer or paint with 60-grit. The coating bonds to bare timber, not to what was on it.
- Vacuum or blow off all dust.
- Let the wood dry fully — days, not hours, after washing. Wood holds water long after the surface looks dry.
02 Reinforce joints and end grain
You’ll need: Fabric Reinforcement · Liquid Membrane
End grain is the thirstiest part of any board and the first place rot starts. Treat it before you coat the field.
- Coat the joint, board end or transition generously.
- Lay Fabric Reinforcement into the wet coating and press it flat.
- Wait 10–15 minutes, then coat over it to encapsulate.
03 Three coats of membrane
- Stir the product well — pigments settle and unstirred product gives uneven color.
- First coat goes into the timber and will look thin. That’s the wood drinking it, and it’s normal.
- Recoat when it holds no fingerprint. Run each coat perpendicular to the last.
- Three coats on bare wood. Inspect for thin spots — it dries lighter, which makes them easy to see.
04 Cure, then seal
Wait about 2 days after the last coat of membrane, then seal: three coats of Titan Shield Gloss or two of Sealer MATTE, about 6–8 mil per coat, with Non-Skid Additive mixed in. The membrane still needs its full 7-day cure before heavy use.
| Bare wood coverage | ~100 sq ft per gallon at 3 coats |
| Previously coated | ~150 sq ft per gallon at 3 coats |
| Sealer coverage | Titan ~150 · Matte ~120 sq ft/gal |
| Sealer over membrane | ~2 days after the last membrane coat |
| Sealer thickness | ~6–8 mil per coat |
| Initial cure | 7 days minimum · longer if humid |
| Temperature | 50–85°F · out of direct sun |
| Prep | Prep E — sand with 60-grit, no cleaner |
01 Drain, strip and dry
- Drain fully. Check with a pool professional first if your water table is high — an empty shell can float.
- Remove failed plaster, chalking gelcoat or any coating that is letting go.
- Let the shell dry out properly. Days, not hours.
02 Clean and reinforce
You’ll need: Nu-Lift Cleaner · Stone Soap · Fabric Reinforcement
- Apply Nu-Lift Cleaner to lift scale, waterline deposits and calcium. Rinse.
- Follow with Stone Soap to clear the residue and rebalance the surface pH. Rinse again.
- Coat cracks over ¼" and the floor-to-wall cove, lay in Fabric Reinforcement, wait 10–15 minutes, coat over it.
- Let everything dry before the field coats.
03 Three coats with Color Activator
- Stir the membrane well, then mix in one Color Activator per container — matched to the same size and color.
- Roller on the flat, brush into the cove, corners and around fittings.
- Recoat when it holds no fingerprint. Three thin coats, not thick ones.
- Inspect for pinholes and thin spots before you stop — on a shell this size one missed patch is the leak.
04 Cure, fill, then balance
Initial cure is at least 7 days, and longer if the coats went on thick or the air is humid. Fill only after that.
| Coverage, submerged | ~100 sq ft per gallon at 3 coats |
| Color Activator | One per membrane container, same size and color |
| Cure before filling | 7 days minimum · longer if thick or humid |
| Chlorine | Normal levels — high concentrations can discolor |
| Temperature | 50–85°F · out of direct sun |
01 Drain, strip and dry
- Drain it fully. If there are fish, move them before you start.
- Remove any failed coating — the membrane bonds to sound substrate, not to something already letting go.
- Let it dry out properly. Concrete that has held water for years holds it in the pores too. Days, not hours.
02 Clean the surface
You’ll need: Nu-Lift Cleaner · Stone Soap
- Pressure wash if the surface takes it.
- Apply Nu-Lift Cleaner and work it in to lift mineral deposits and old waterline staining. Rinse.
- Follow with Stone Soap to clear the residue and rebalance the surface pH. Rinse again.
- Let it dry completely before coating.
03 Three thin coats
- Stir well — pigments settle and unstirred product gives uneven color.
- Roller on the flat, brush into corners, cracks and around any fittings.
- Recoat when it holds no fingerprint. Three coats for submerged work.
- Check the waterline and the base especially — those are where leaks reappear.
04 Cure — then fill
Initial cure is at least 7 days, and longer if the coats went on thick or the air is humid. Owners who waited report no leaks; the ones who rushed are the ones who redid it.
| Coverage, submerged | ~100 sq ft per gallon at 3 coats |
| Coats | 3 — thin, not thick |
| Cure before filling | 7 days minimum · longer if thick or humid |
| New concrete | Let it cure ~1 month before coating |
| Temperature | 50–85°F · out of direct sun |
| Prep | D on concrete · sand fiberglass first |
01 Degrease, then Prep D
You’ll need: a degreaser · Nu-Lift Cleaner · Stone Soap
- Degrease oil and transmission stains first. No coating bonds to oil, and Prep D isn’t a degreaser.
- Wet the slab, apply Nu-Lift Cleaner and work it in with a stiff brush to lift efflorescence and mineral deposits.
- Rinse thoroughly.
- Follow with Stone Soap to clear the residue and rebalance the surface pH, then rinse again.
- Let the slab dry completely. Concrete holds water long after the surface looks dry.
02 Reinforce cracks and joints
You’ll need: Fabric Reinforcement · Liquid Membrane
- Fill anything wider than ¼" with a suitable filler first.
- Coat the crack or joint generously, lay Fabric Reinforcement into the wet film, press it flat.
- Wait 10–15 minutes, then coat over it to encapsulate.
03 Two coats of membrane
- Stir well — pigments settle and unstirred product gives uneven color.
- ½" nap roller on an extension pole; cut in the edges with a brush.
- Recoat when it holds no fingerprint. Second coat perpendicular to the first, same day.
- Inspect for pinholes and thin spots before you stop.
04 Cure, then seal
Wait about 2 days after the last coat of membrane, then seal: three coats of Titan Shield Gloss or two of Sealer MATTE, about 6–8 mil per coat, with Non-Skid Additive mixed in. The membrane still needs its full 7-day cure before heavy use.
| Membrane coverage | ~200 sq ft per gallon at 2 coats |
| Titan Shield Gloss | ~150 sq ft per gallon at 3 coats |
| SEMCO Sealer MATTE | ~120 sq ft per gallon at 2 coats |
| Sealer over membrane | ~2 days after the last membrane coat |
| Sealer thickness | ~6–8 mil per coat |
| Initial cure | 7 days minimum · longer if humid |
| Temperature | 50–85°F · out of direct sun |
| Prep | Prep D — degrease oil stains first |
01 Clean the wall — Prep D
You’ll need: Nu-Lift Cleaner · Stone Soap
- Remove soil, moss, loose mortar and anything flaking.
- Wet the wall, apply Nu-Lift Cleaner and work it in with a stiff bristle brush to lift efflorescence and mineral deposits.
- Rinse with fresh water.
- Follow with Stone Soap to clear the residue and rebalance the surface pH, then rinse again.
- Let it dry completely. A retaining wall holds moisture — give it more drying time than you think.
02 Reinforce joints and the footing line
You’ll need: Fabric Reinforcement · Liquid Membrane
Mortar joints move more than the block does, and the joint where the wall meets its footing moves most of all.
- Repoint anything that has failed before you coat.
- Coat the joint generously, lay Fabric Reinforcement into the wet film, press it flat.
- Wait 10–15 minutes, then coat over it to encapsulate.
03 Coat the face
- Stir the product well — pigments settle and unstirred product gives uneven color.
- ½" nap roller on the flat, a masonry brush into the joints and corners.
- Two coats on an exposed face; three on the buried side, on timber, or in a planter.
- Recoat when it holds no fingerprint. One customer applying at 50°F got two to three hours between coats and finished in a day.
04 Cure — and backfill last
Dry to touch in about an hour. Initial cure is at least 7 days — longer with thick coats or high humidity. Apply between 50–85°F, out of direct sun.
| CMU / poured concrete | ~200 sq ft per gallon at 2 coats |
| Split-face / rough block | ~150 sq ft per gallon at 2 coats |
| Timber & planters | ~100 sq ft per gallon at 3 coats |
| Initial cure | 7 days minimum before backfill · longer if humid |
| Temperature | 50–85°F · out of direct sun |
| Prep | D on masonry · E on timber |
01 Prepare the substrate
- Cement or backer board — fixed soundly, joints taped, screws flush and dust-free. No cleaner needed.
- Plywood or wood — sand with 60-grit. No cleaner; wood absorbs water and chemistry.
- Existing tile — Nu-Lift then Stone Soap to remove soap residue, water deposits and mold, then rinse and dry.
02 Reinforce every joint and corner
You’ll need: Fabric Reinforcement · Liquid Membrane
- Coat the joint generously, lay Fabric Reinforcement into the wet film, press it flat.
- Wait 10–15 minutes, then coat over it to encapsulate.
- Do this at every board joint, all inside corners, the wall-to-pan junction, the curb, niche corners and around the drain flange.
03 Coat the enclosure
- Stir well — pigments settle, and unstirred product gives uneven color.
- Brush into screw heads, seams, corners and niches; roller the flat areas.
- Two coats on board, three on bare wood. Recoat when it holds no fingerprint.
- Inspect under a light. Look for pinholes, voids and thin spots — a customer specifically used a work light to find them, and touch-ups were easy.
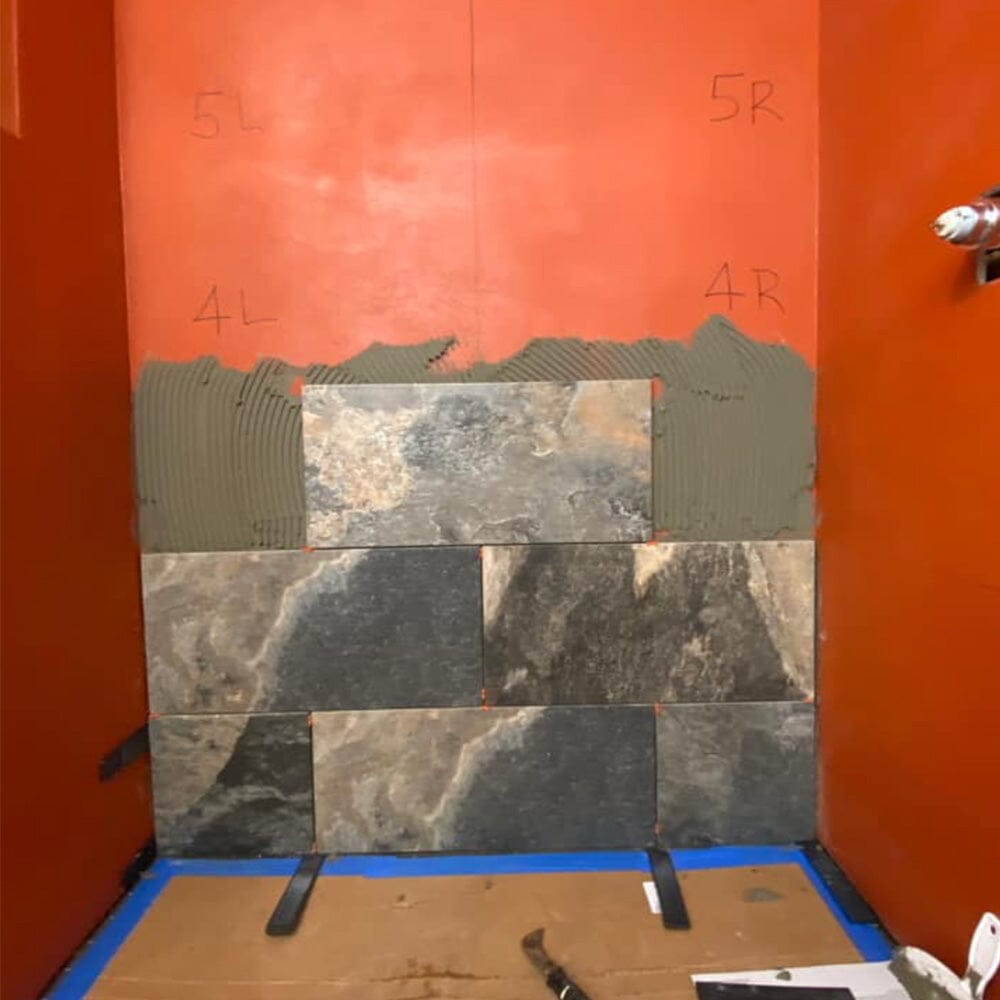
04 Tile over it
Once dry, set tile straight onto it with standard thinset. Several customers tiled the next day; one reported mortar bonding to it as if it were concrete.
| Cement / backer board | ~200 sq ft per gallon at 2 coats |
| Plywood or bare wood | ~100 sq ft per gallon at 3 coats |
| Standard 3 × 5 ft shower | ~110 sq ft of wall and pan |
| Standard | DIN EN 14891:2017-05 |
| Tile over it | Standard thinset, once dry |
| Temperature | 50–85°F · out of direct sun |
Need a hand? Call 1-833-211-2297 or email info@semcoworks.com — the team will check prep, coverage and cure timing before you start.
Before you buy
The questions worth asking.
Is SEMCO Liquid Membrane waterproof or just water-resistant?
It is fully waterproof. Once cured it forms a continuous, seamless elastomeric membrane with no seams or joints for water to get through, and at three coats it is rated for permanent submersion.
What surfaces can SEMCO Liquid Membrane be applied to?
It bonds to concrete, plywood and natural wood, stone, metal and aluminum, ceramic tile, CMU/concrete block, fiberglass, ICF, drywall, and RV roofing. The surface must be clean and its moisture content should not exceed 3%. No separate primer is required.
How many coats do I need?
Two coats for standard waterproofing. Three coats for anything submerged, like pools and fountains, and for bare wood decks, which absorb the first coat.
How much does one gallon cover, and how much extra should I order?
About 200 sq ft per gallon at two coats, and about 100 sq ft per gallon at three coats for submerged work or bare wood. Porous block, rough walls, seams, corners and cracks all take extra material, so if you’re between sizes, size up. The 5-gallon pail is the most cost-effective size per square foot.
How long does it take to dry and cure?
Recoat as soon as it holds no fingerprint — about 25 to 45 minutes at 72°F, so all coats go on the same day. It’s dry to the touch in 1 to 2 hours at about 70°F. Sealers such as Titan Shield Gloss or Sealer MATTE can go on about 2 days after the last coat. Allow a 7-day minimum cure before water contact, traffic or filling a pool, and longer in cool or humid weather.
Can I apply SEMCO Liquid Membrane myself?
Yes, it is designed for DIY. Apply it with a half-inch nap roller or brush for most projects, or an airless sprayer at a minimum of about 2,500 PSI for large jobs. The key to success is proper surface prep and thin, even coats.
What temperature do I need to apply it, and can I work in direct sun?
Apply between 50°F and 85°F, out of direct sun. On a hot surface or in full sun the coating skins over before it bonds, which leads to blistering and weak adhesion, so work in shade or the cooler part of the day. Make sure no rain or dew is due before it sets.
How do I check my surface is dry enough?
Moisture needs to be 3% or lower. Use a concrete moisture meter, or tape an 18 × 18 in sheet of clear plastic tightly to the surface for at least 16 hours (the ASTM D4263 test). Condensation under the sheet, or a darkened patch, means it is still too wet to coat.
Do I have to use SEMCO Fabric Reinforcement, or will any polyester fabric work?
Use SEMCO Fabric Reinforcement. It is made to be pressed into the wet membrane and fully encapsulated, and it’s what SEMCO’s application guidance is written around. Use it on cracks wider than ¼", board joints, wall-to-floor junctions, seams, flashing and vents.
If I coat both sides of a wall or slab, will I trap moisture inside it?
It can. Coat the side the water comes from wherever you can reach it, and let the other side breathe. On an interior basement wall with no outside access, coat the inside face only and keep the room’s humidity under control rather than sealing both faces.
What is its VOC content?
14 g/L. It is a water-based, low-VOC formula — low odor, and suitable for basements, showers and other enclosed spaces with normal ventilation.
How is it different from Liquid Rubber?
Both are flexible liquid membranes. SEMCO is water-based at 14 g/L VOC, needs no primer on any surface — including EPDM and TPO, where Liquid Rubber recommends a separate primer — and publishes its test methods: 1,300% elongation (ASTM D412) and 173 PSI adhesion at 7 days, rising to 234 PSI at 4 weeks (ANSI A118.10).
How flexible is it? Will it crack?
It is highly elastomeric, with up to 1300% elongation, so it stretches and bridges cracks instead of cracking with the substrate. This is why it holds up on decks, balconies, and roofs through movement and freeze-thaw cycles.
Is it UV-stable and can it be left exposed?
Yes. It is fully UV-resistant and suitable for permanently exposed exterior applications, so it does not need a protective topcoat to survive sunlight.
Can it be used for pools, ponds, and fountains?
Yes. It is a low-VOC, water-based membrane rated for permanent submersion, widely used on swimming pools, ponds, and fountains. Apply three coats with Color Activator and allow the full cure — 7 days minimum, longer in cool or humid weather — before filling.
What colors does it come in?
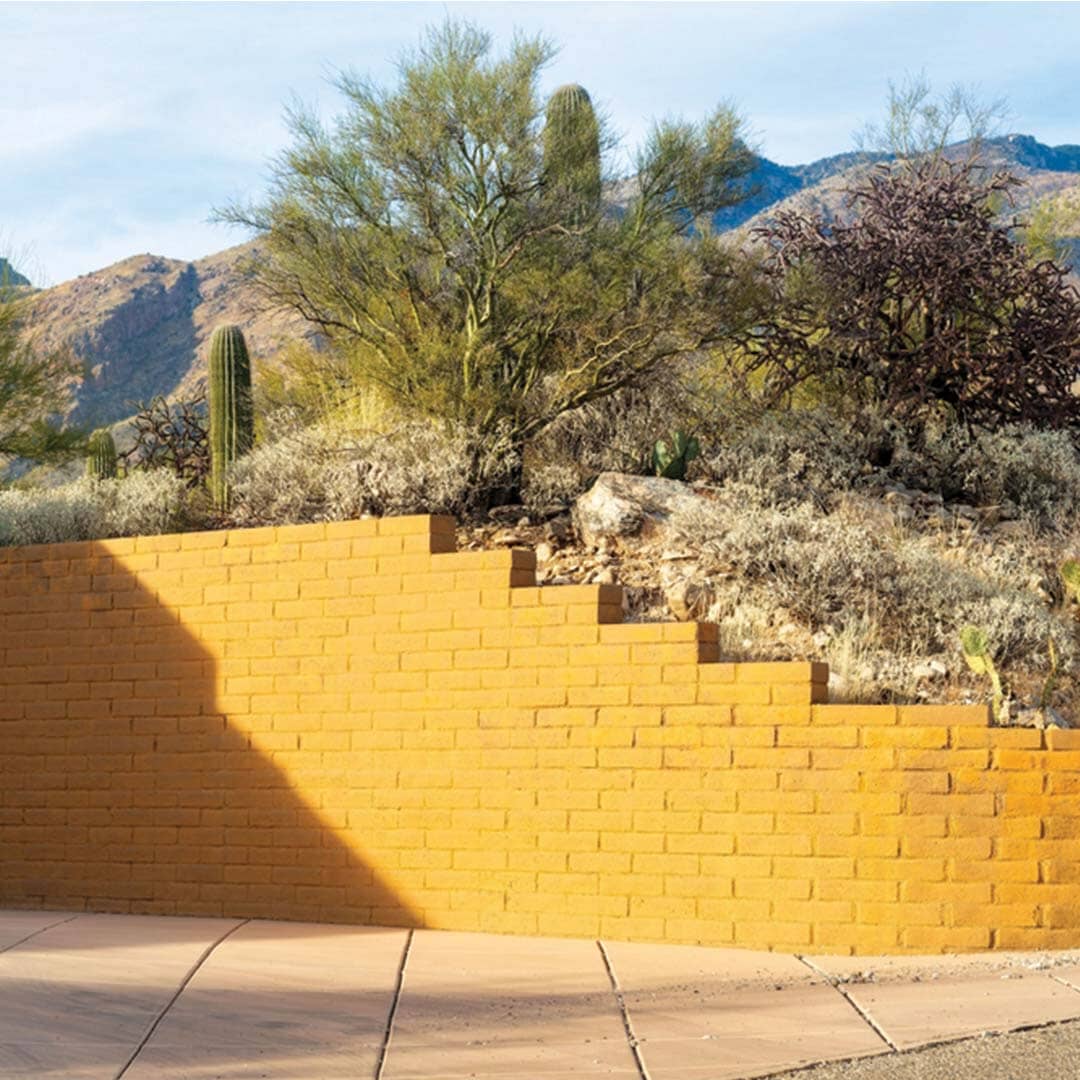
About 15 colors, including Semi-Clear, White, Rockslide Grey, Monday Grey, Black Pearl, Cove Blue, Sapphire Bay, Sandy Beige, Honey Maple, Arizona Sun, Brown Slate, Sequoia Brown, Barn Red, Hunter Green, and SEMCO Orange.
Is there a warranty?
It carries a 5-year standard limited warranty, extended to 10 years on non-traffic surfaces. Applied correctly over prepared surfaces, the cured membrane is a long-term waterproofing solution.
More questions? Browse every SEMCO FAQ.