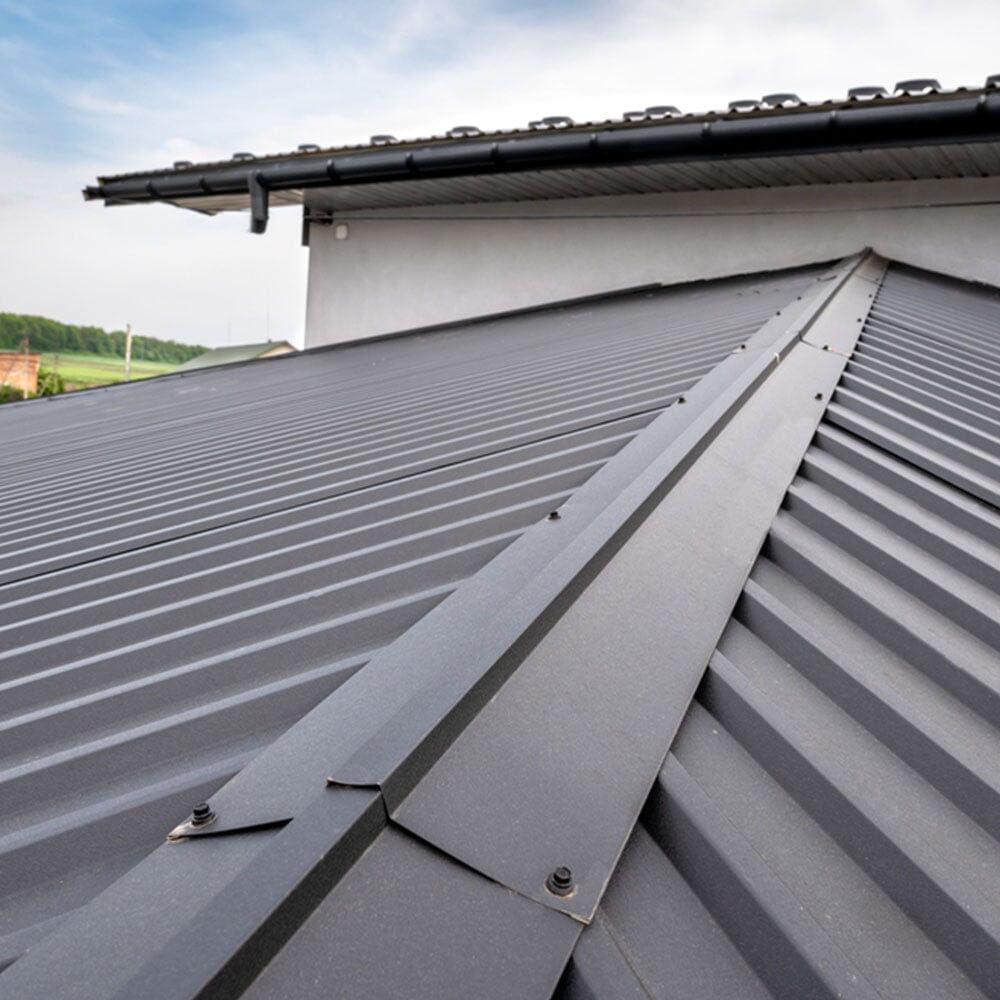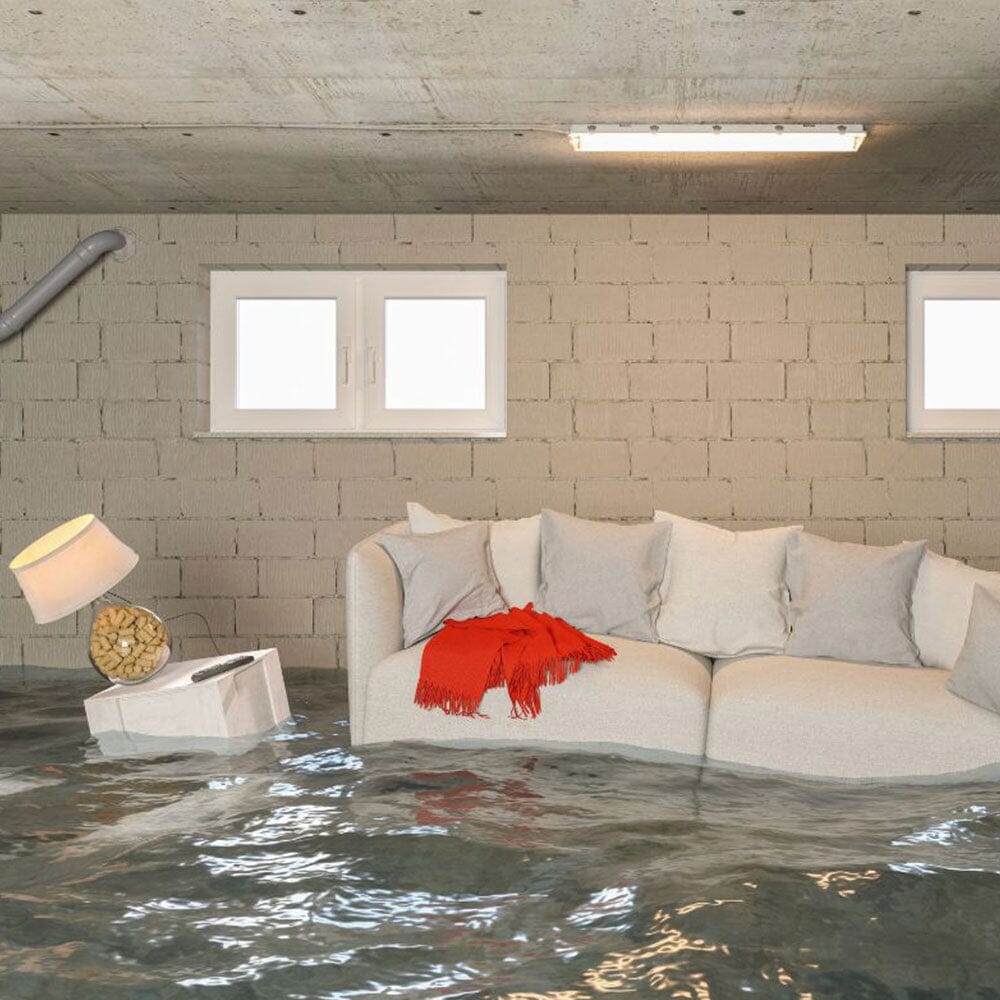

Are you experiencing water seepage in your retaining wall? Don't worry, you're not alone. Water seepage can be a common issue in retaining walls, but with the right knowledge and techniques, you can effectively waterproof your wall and prevent further damage.
In this comprehensive guide, we will walk you through the step-by-step process of waterproofing a retaining wall using SEMCO Liquid Membrane, a proven and easy to use solution that any homeowner can do themselves.
Identifying the Issue
The first step in addressing water seepage in your retaining wall is to identify the cause and extent of the problem. Look for signs of moisture, such as dampness or water stains, on the interior or exterior surface of the wall. Cracks or gaps in the mortar joints and efflorescence, a white powdery substance, are indicators of water seepage. It's important to address the issue promptly to prevent further damage to your wall and the surrounding areas.
Using SEMCO Liquid Membrane: The Superior Waterproofing Solution
SEMCO Liquid Membrane is a versatile and effective solution for waterproofing retaining walls. Its unique properties make it an ideal choice for DIYers looking to protect their walls from water seepage.
Here's why SEMCO Liquid Membrane should be at the top of your list:
- Ease of Use: SEMCO Liquid Membrane is easy to apply, requiring only a trowel or brush. Simply follow the manufacturer's instructions for application, and you'll have a seamless and fully adhered waterproofing membrane in no time.
- Affordability: Compared to other waterproofing solutions, SEMCO Liquid Membrane is a cost-effective option for DIYers. It provides excellent coverage, with up to 1250 square feet per 5 gallon pail, making it a budget-friendly choice for your retaining wall waterproofing project.
- Reliability: SEMCO Liquid Membrane provides superior waterproofing protection, thanks to its robust adhesion to masonry surfaces. It remains flexible even after drying, allowing it to stretch and bridge small cracks that may occur in the concrete or block.
- Low VOC and Nontoxic: Unlike some traditional waterproofing products, SEMCO Liquid Membrane is low in VOC and nontoxic. This makes it a safer option for both you and the environment, ensuring that your DIY project is not only effective but also sustainable.
Preparation for Waterproofing
Before applying SEMCO Liquid Membrane, it's crucial to properly prepare the retaining wall surface. Follow these steps to ensure a clean and well-prepared surface:
- Clean the Surface: Remove any dirt, debris, or loose material from the wall using a brush or pressure washer with our Prep System. Make sure to clean both the interior and exterior surfaces. The Prep System is crucial to maintain the pH of the concrete/masonry to ensure optimal adhesion.
- Repair Cracks and Gaps: Fill any cracks or gaps in the mortar joints using a suitable masonry repair product. For any cracks wider than 1/4", use a Fabric Reinforcement to bridge the crack.
No additional primer or etching is needed like with many other competitors on the market. Once all the preparation is done, let the retaining wall fully dry for a few days prior to the application of the waterproofing sealant.
Step-by-Step Application of SEMCO Liquid Membrane
Now that you understand the benefits of using SEMCO Liquid Membrane, let's walk through the step-by-step process of applying it to your retaining wall.
- Prepare the SEMCO Liquid Membrane: Open the container and stir it thoroughly to ensure a consistent and smooth texture.
- Apply the First Coat: Using a roller or brush, apply the first coat of SEMCO Liquid Membrane to the clean wall surface. Make sure to cover the entire area, including any cracks or gaps. Generally, you can apply 1-2 coats per day. Apply the next coat when it's dry to touch (typically 1-2 hours depending on temperature and humidity), make sure there is no uncured material underneath. If your coat is still tacky, wait a little longer before applying your next coat.
- Apply Subsequent Coats: Apply additional coats of SEMCO Liquid Membrane, allowing each coat to dry before applying the next. For optimal waterproofing, it is recommended to apply a minimum of two coats which should equal to 30-40 mils total thickness.
- Ensure Proper Coverage: As you apply the SEMCO Liquid Membrane, ensure that the entire surface is covered, paying special attention to areas prone to water seepage, such as the cove joint at the footings. Proper coverage is essential for effective waterproofing.